

PS5 HDR Calibration Guide: Correct Console, TV, and Game Settings
A repeatable PS5 HDR workflow that separates console calibration from television tone mapping and in-game settings, with practical fixes for raised blacks, dim images, clipped highlights, and inconsistent games.
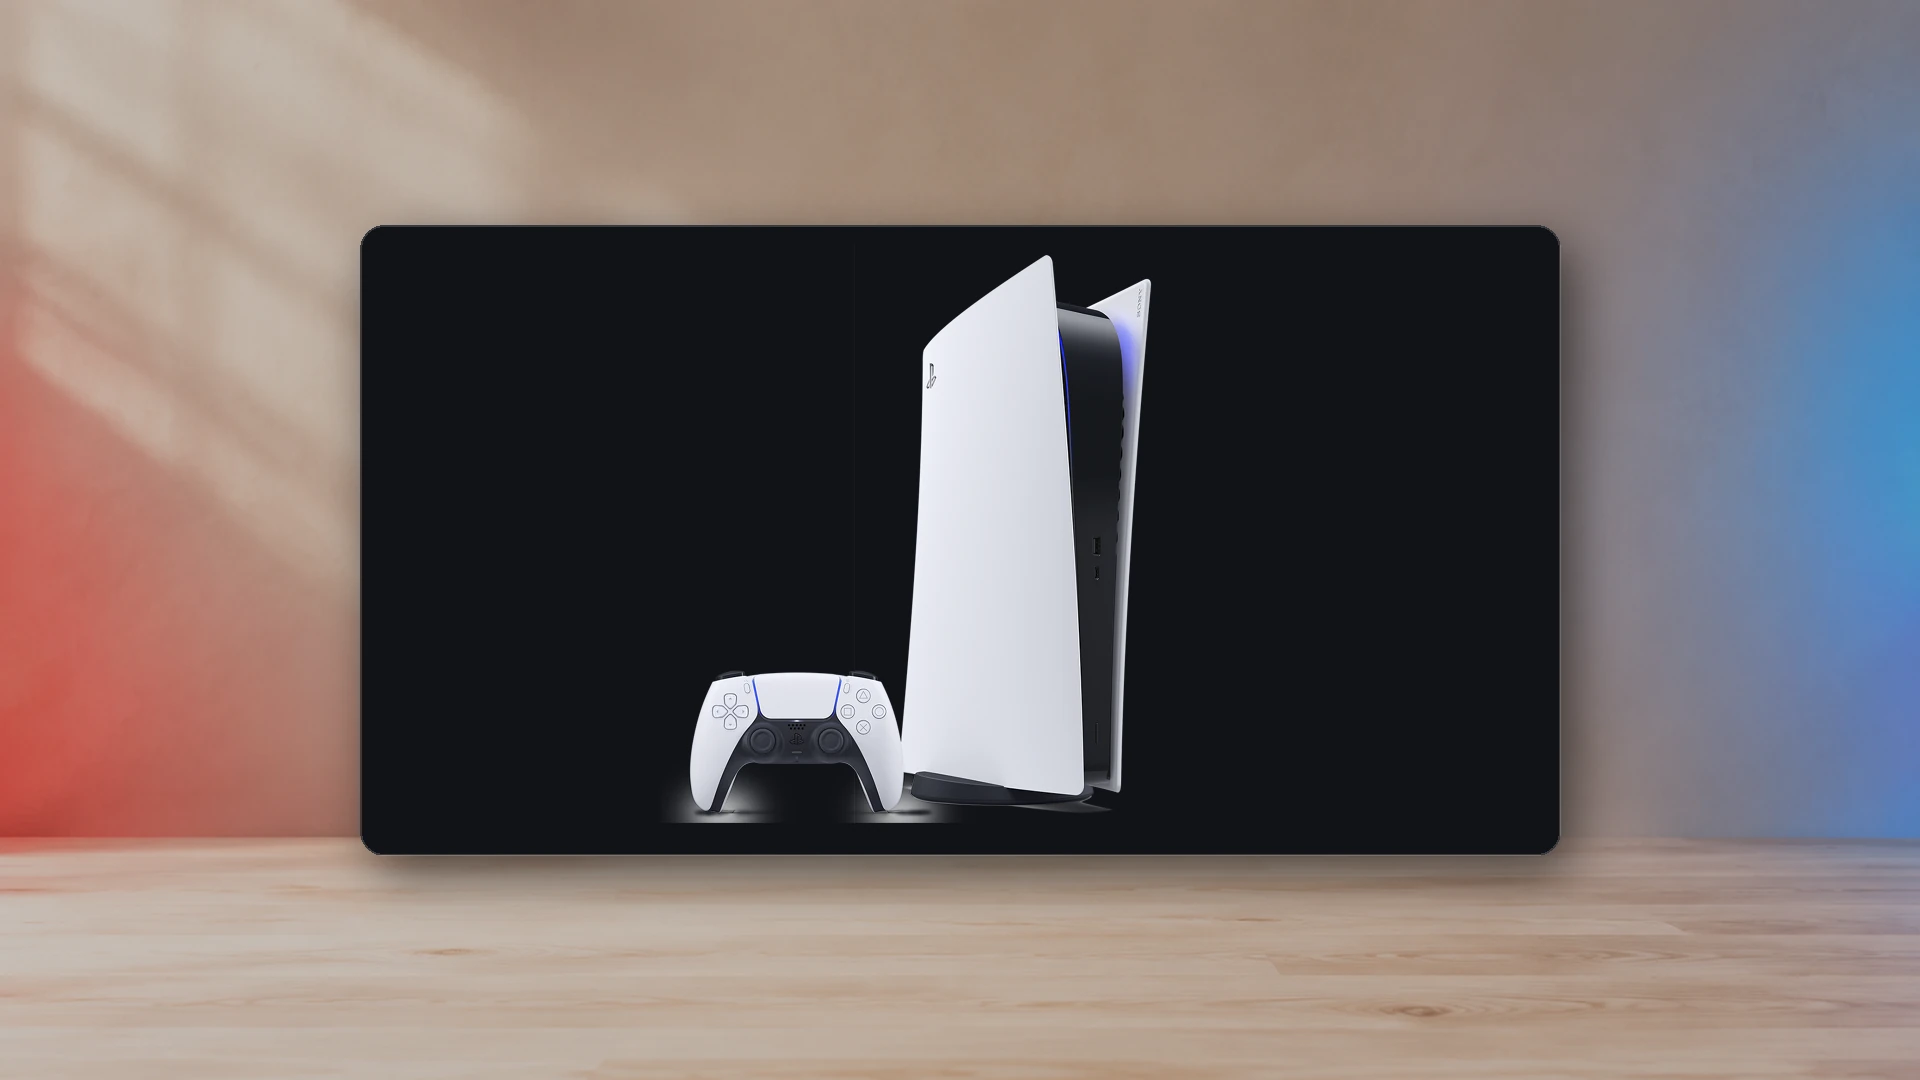
PS5 HDR calibration is not a universal three-screen recipe with one correct click count. The result depends on the display’s peak brightness, black level, tone-mapping mode, local dimming or OLED behavior, room lighting, HDMI range, and the game’s own HDR controls.
The calibration order
- 1. Display and HDMI path
Choose a stable gaming picture mode and confirm the input supports HDR.
- 2. PS5 Adjust HDR
Run the console adjustment in the display mode you will keep using.
- 3. Settings inside the game
Adjust only the controls provided by the game, then inspect real scenes.
Change one setting at a time. If the HDMI path or display tone-mapping mode changes, repeat the console adjustment before tuning the game.
A reliable workflow separates those layers. Configure the display and signal path first, use the PS5 Adjust HDR screens second, then calibrate the game only if it exposes its own paper-white, peak-brightness, black-level, or UI controls.
Prepare the room and display
- Use your normal viewing conditions. Calibrating in complete darkness and then playing in daylight changes shadow visibility and perceived contrast.
- Warm up the display. Let it operate normally before making fine adjustments.
- Select the gaming HDR picture mode. Enable Game Mode or the manufacturer’s low-latency equivalent.
- Enable the correct HDMI input format. The input may need Enhanced Format, HDMI Deep Color, Input Signal Plus, or a similar mode.
- Disable temporary power-saving changes. Eco modes and ambient-light controls can alter brightness during calibration. Re-enable only the features you intend to use consistently.
- Set color temperature and local dimming first. Changing them later can alter the calibration target.
Confirm the PS5 HDR signal
Go to Settings → Screen and Video → Video Output. Set HDR to On When Supported unless you intentionally want SDR content converted into an HDR output container. Check Information for the Connected HDMI Device to confirm that the current port supports HDR at the intended resolution and refresh rate.
If HDR disappears at 4K 120 Hz, diagnose the cable, port, receiver, switch, or capture device before calibrating. Follow the PS5 120 Hz, VRR, and HDR setup guide to verify the full path.
Choose a display tone-mapping strategy
Display manufacturers use different names, but the important choice is whether the display follows the console’s calibration closely or applies additional dynamic tone mapping.
- Static or reference-oriented mapping: often labeled HGIG, Game HDR, Static Tone Mapping, or Gradation Preferred. This is usually the cleanest starting point for the PS5 adjustment screens.
- Dynamic tone mapping: analyzes scenes and alters brightness to preserve or emphasize highlights. It can make the image brighter but can also change the target while you calibrate.
- Brightness-preferred modes: prioritize visible highlights in a bright room but may deviate from the creator’s intended mapping.
If the display has an HGIG-style mode, enable it before Adjust HDR. If it does not, use the most stable gaming HDR mode and avoid changing tone-mapping behavior after calibration.
Run PS5 Adjust HDR
Open Settings → Screen and Video → Video Output → Adjust HDR. The console presents three screens. Menu wording and the symbol can change, but the principle is to place the visible target at the edge of disappearance without blindly maximizing the value.
First bright screen
Raise the level until the symbol is barely visible, then stop at the transition where the bright detail is no longer distinct. This sets an upper target for one luminance condition.
Second bright screen
Repeat the process. The second screen exists because the console models another highlight condition. Do not assume it must use the same number of clicks.
Dark screen
Lower the level until the symbol is barely visible or reaches the display’s true black floor. On OLED, the correct result may be the minimum. On LCD, local dimming and raised black behavior can make the transition less obvious.
When dynamic tone mapping remains active, the symbol may never disappear consistently because the display keeps adapting. Use a static gaming tone-mapping mode during calibration if available.
Calibrate the game separately
Some games use the system HDR values; others provide independent controls. Read the labels rather than assuming every slider means the same thing.
- Peak brightness or maximum luminance: should represent the display’s usable highlight capability in the selected mode.
- Paper white: controls the brightness of common diffuse whites and often the general image level.
- Black level: should preserve near-black detail without turning black into gray.
- UI brightness: can reduce eye strain and static-element intensity on OLED.
- Exposure or gamma: is an artistic control, not a substitute for correct HDR calibration.
If a game provides no useful instructions, start from its defaults after completing the system calibration. Change one control at a time and test real scenes containing shadow detail, bright sky, specular reflections, skin tones, and UI.
Fix washed-out blacks
Washed-out blacks often indicate an RGB range mismatch, an incorrect black-level setting on the display, or SDR content being forced into an HDR container. Set PS5 RGB Range to Automatic and match the display’s HDMI black-level setting. Use HDR On When Supported so SDR games remain SDR.
Disable unrelated video-processing modes and check whether the display is entering its correct HDR Game Mode. A television can remember separate settings for SDR, HDR, Dolby Vision, and each HDMI input.
Fix crushed shadow detail
Crushed blacks can result from a full-versus-limited range mismatch, a black-level control set too low, aggressive dynamic contrast, or local dimming that closes near-black detail. Return both source and display range settings to Automatic, disable dynamic contrast while testing, and repeat the dark calibration screen.
Fix clipped highlights
If clouds, lamps, reflections, or explosions lose texture, the console or game may be targeting a brightness above the display’s usable range, or the display may be applying multiple layers of tone mapping. Use the static gaming tone-mapping mode, repeat Adjust HDR, and lower the game’s peak-brightness value if its calibration pattern clips.
Fix an HDR image that is too dim
HDR is not intended to make every part of the image brighter than SDR. Midtones can look restrained while highlights gain range. If the image is unusably dim, check room lighting, the display’s HDR Game Mode, energy-saving controls, paper-white setting, and whether the display is capable of useful HDR brightness and contrast.
Some entry-level “HDR-compatible” monitors accept the signal but lack local dimming, contrast, or brightness to render a convincing HDR image. The Gaming Monitor Buying Guide explains why signal acceptance and image quality are different claims.
OLED-specific calibration notes
OLED can produce true black and fast transitions, but large bright areas can be limited differently from small highlights. Keep panel-protection features active and use a sensible UI brightness. The OLED Burn-In for Gaming guide explains cumulative static-element risk and normal panel-care behavior.
Use screen size and distance correctly
HDR impact depends partly on how much of the field of view the display occupies. A small 4K screen far away can look sharp but not immersive. A large screen too close can expose lower-resolution modes. Use the Display PPI and Viewing-Distance Calculator to compare pixel density, field of view, and pixels per degree.
Final PS5 HDR checklist
- Correct HDMI port and enhanced input mode enabled.
- PS5 HDR set to On When Supported.
- RGB Range left on Automatic unless diagnosing a confirmed mismatch.
- Game Mode or low-latency HDR mode active.
- Stable tone-mapping mode chosen before calibration.
- Adjust HDR completed in normal room lighting.
- Game-specific peak brightness, paper white, black level, and UI brightness reviewed.
- No dynamic contrast or eco control changing the target during calibration.
- Real scenes checked for shadow detail and highlight texture.
Bottom line
Good PS5 HDR comes from a consistent chain: correct HDMI negotiation, a capable display mode, stable tone mapping, accurate system adjustment, and restrained game-level changes. Calibrate your display path, not someone else’s screenshot or click count.
Sources
- How to enable HDR on a PS5 consolePlayStation Support
- How to change PS5 console resolutionPlayStation Support
- How to troubleshoot picture and sound issues with your PS5 consolePlayStation Support
- HDMI Source-Based Tone MappingHDMI Licensing Administrator

Harry Negron
Harry Negron leads NexusArc's editorial direction across games, player culture, gear, and technology.