
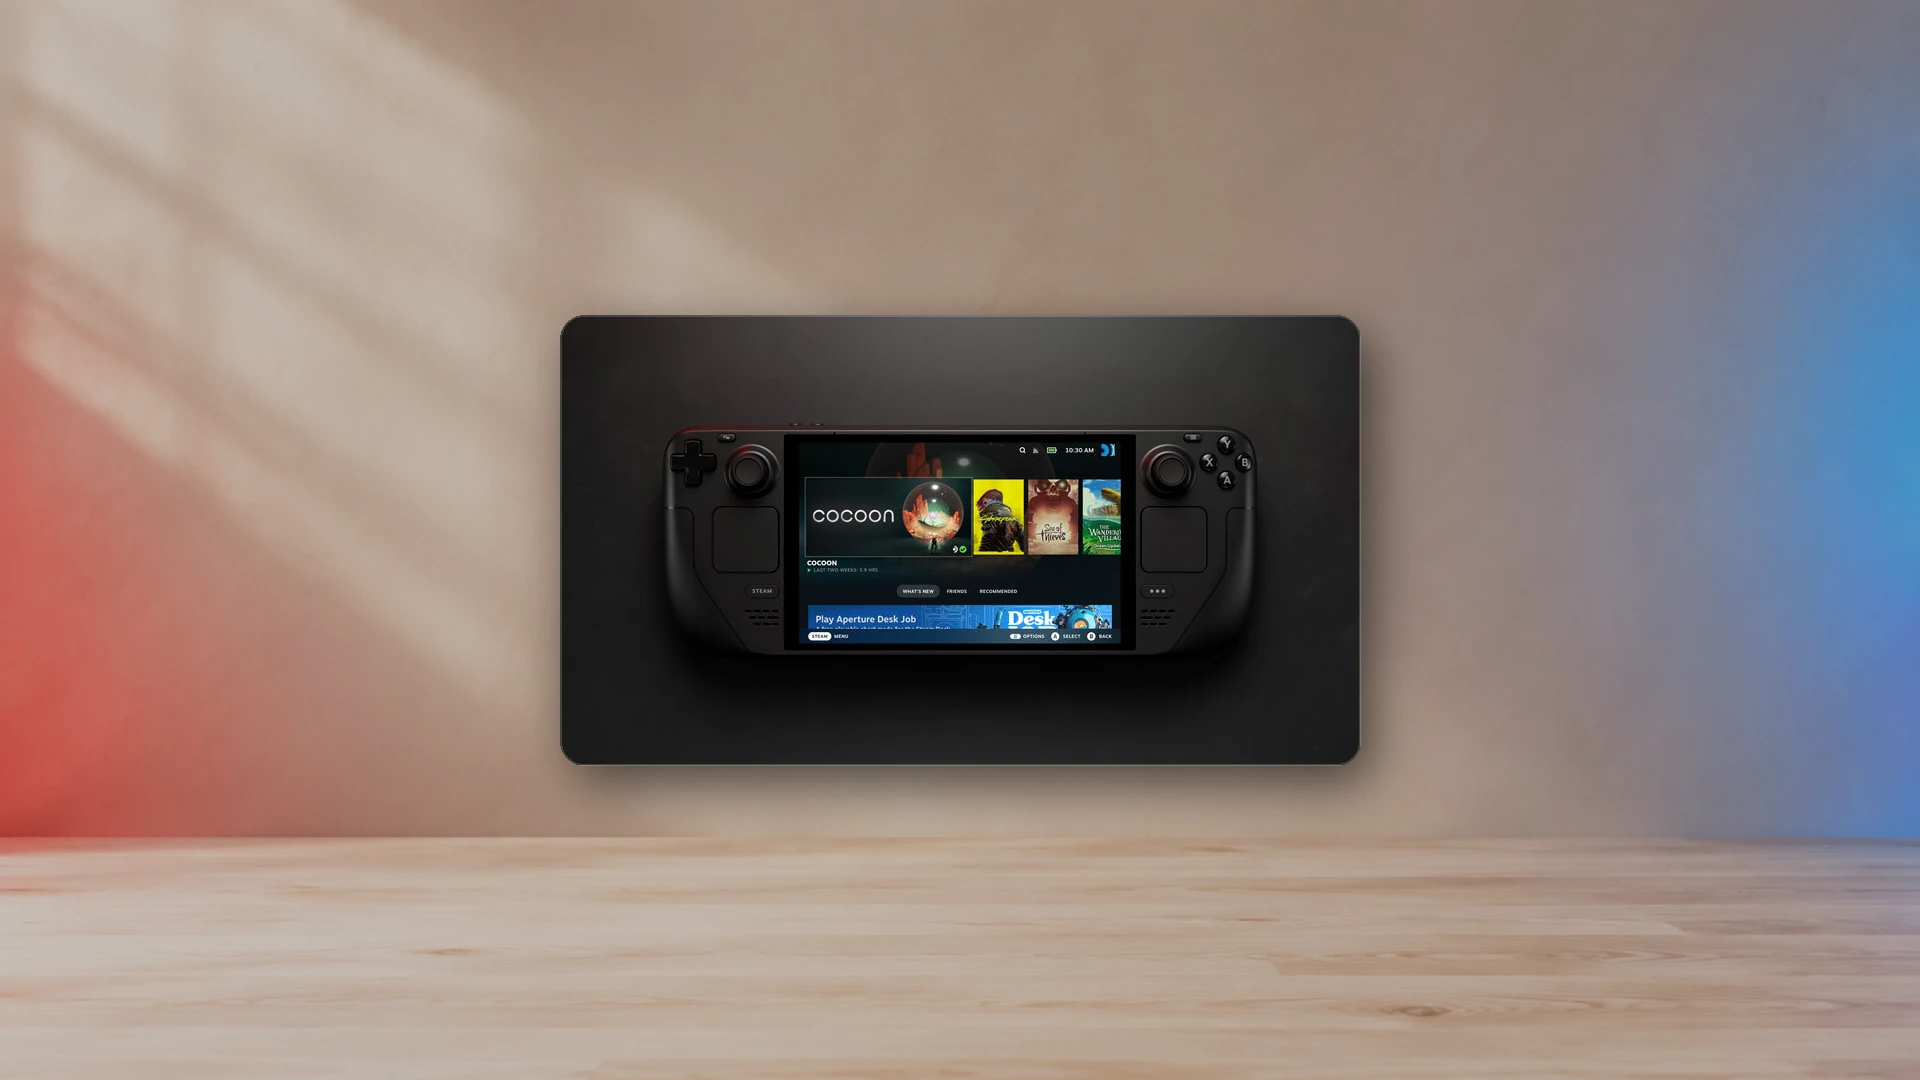
Steam Input Joystick Settings
Deadzone source, deadzone shape, outer ring, response curves and anti-deadzone: what each Steam Input joystick setting changes, and the order to tune them in.
 NexusArcPlayer OS
Practical walkthrough-style explanations, setup advice, and evergreen answers designed to solve a specific problem.
Deadzone source, deadzone shape, outer ring, response curves and anti-deadzone: what each Steam Input joystick setting changes, and the order to tune them in.
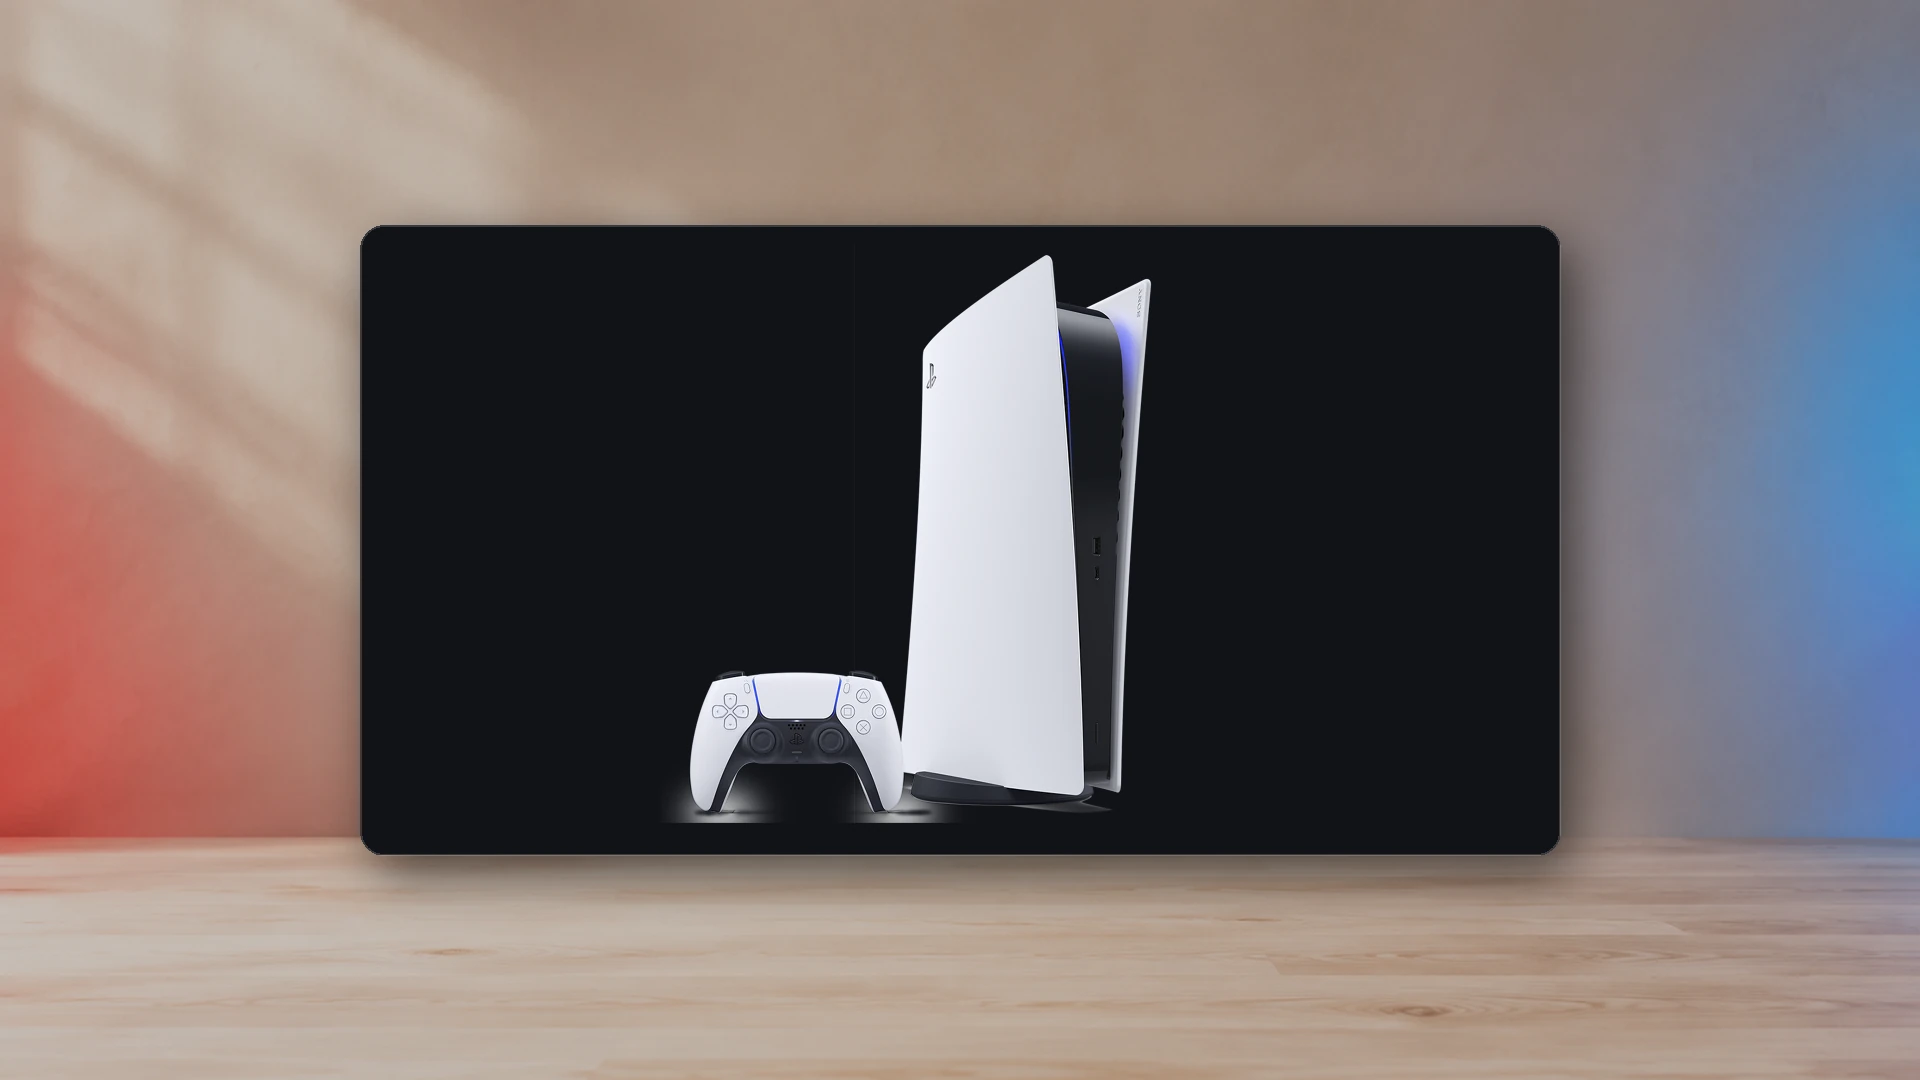
A practical console-monitor guide that separates useful display features from marketing labels and helps match PS5 or Xbox output to the right panel.
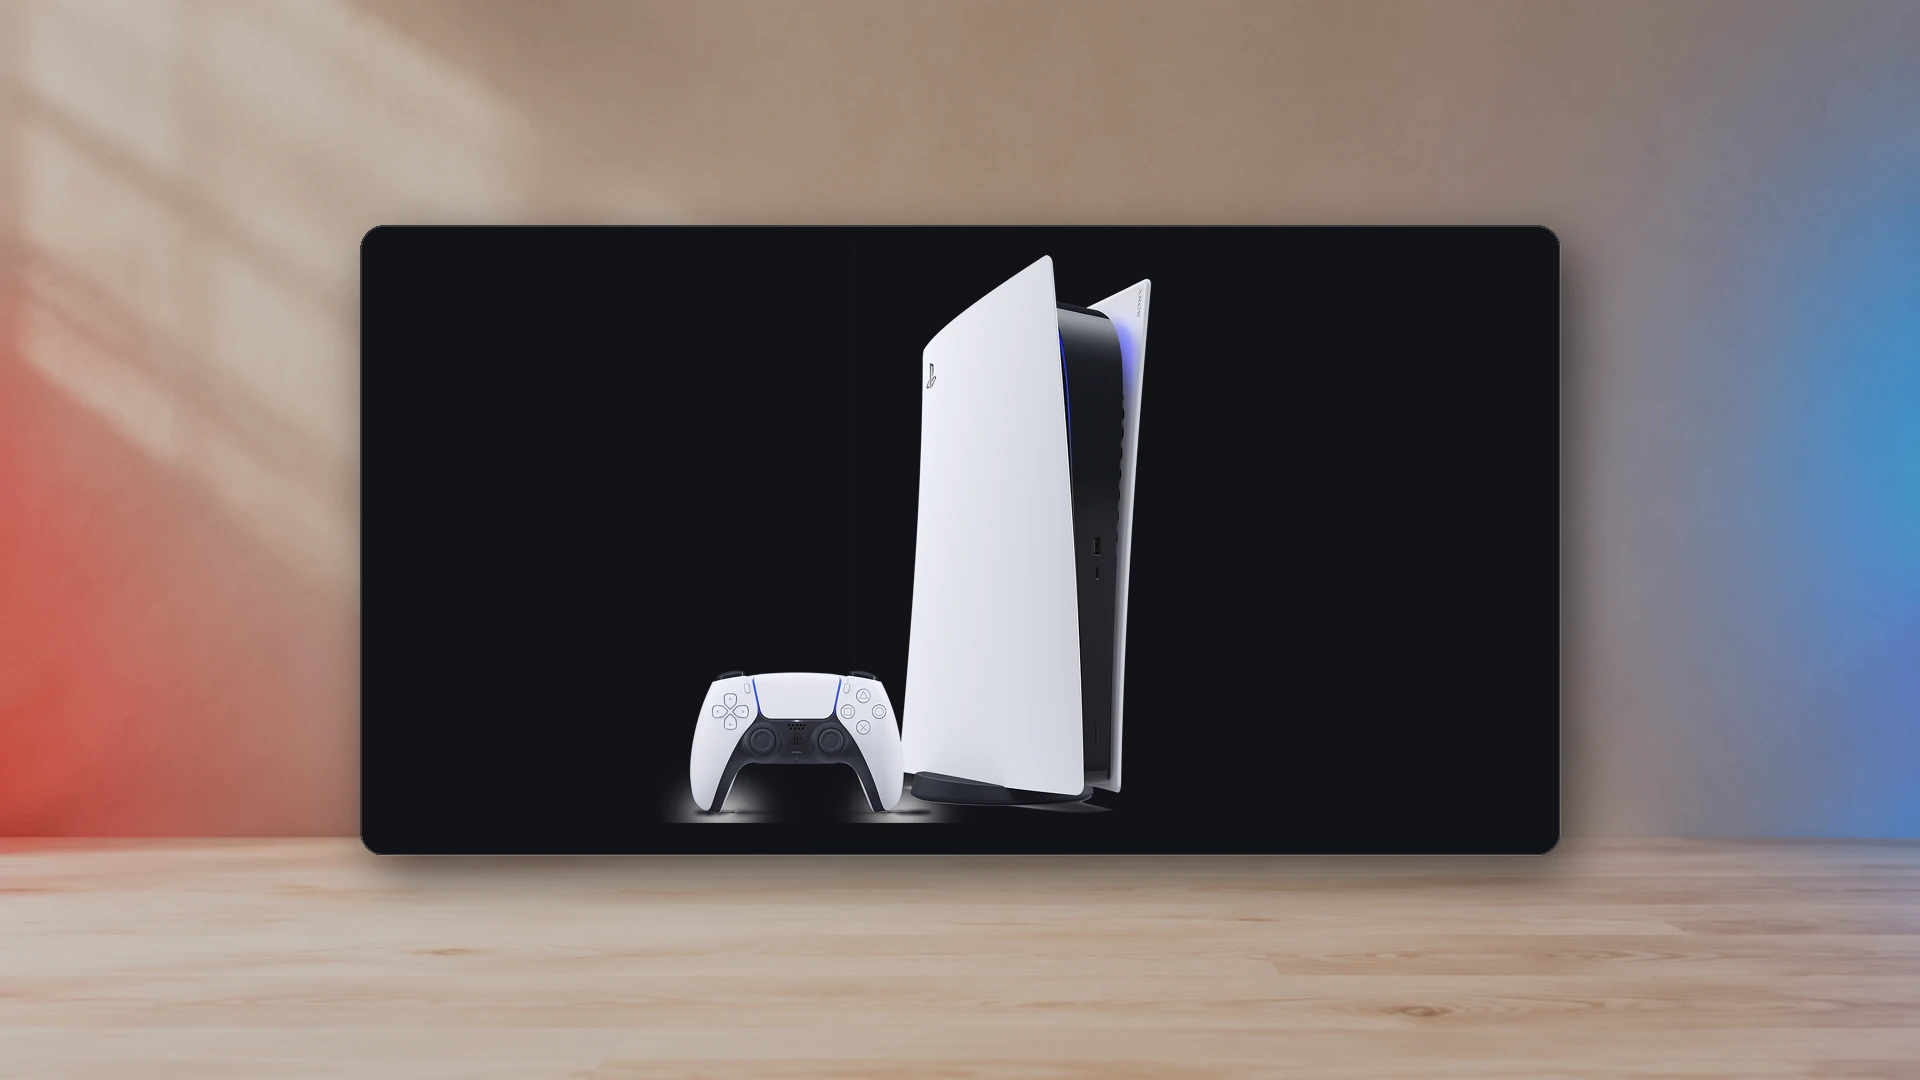
A complete PS5 display-output workflow that starts with the television or monitor, verifies the HDMI signal chain, configures the console, checks each game, and diagnoses the most common 120 Hz, VRR, and HDR failures.
A step-by-step PS5 storage guide covering supported SSD specifications, heatsinks, installation, formatting, moving games, and common mistakes.
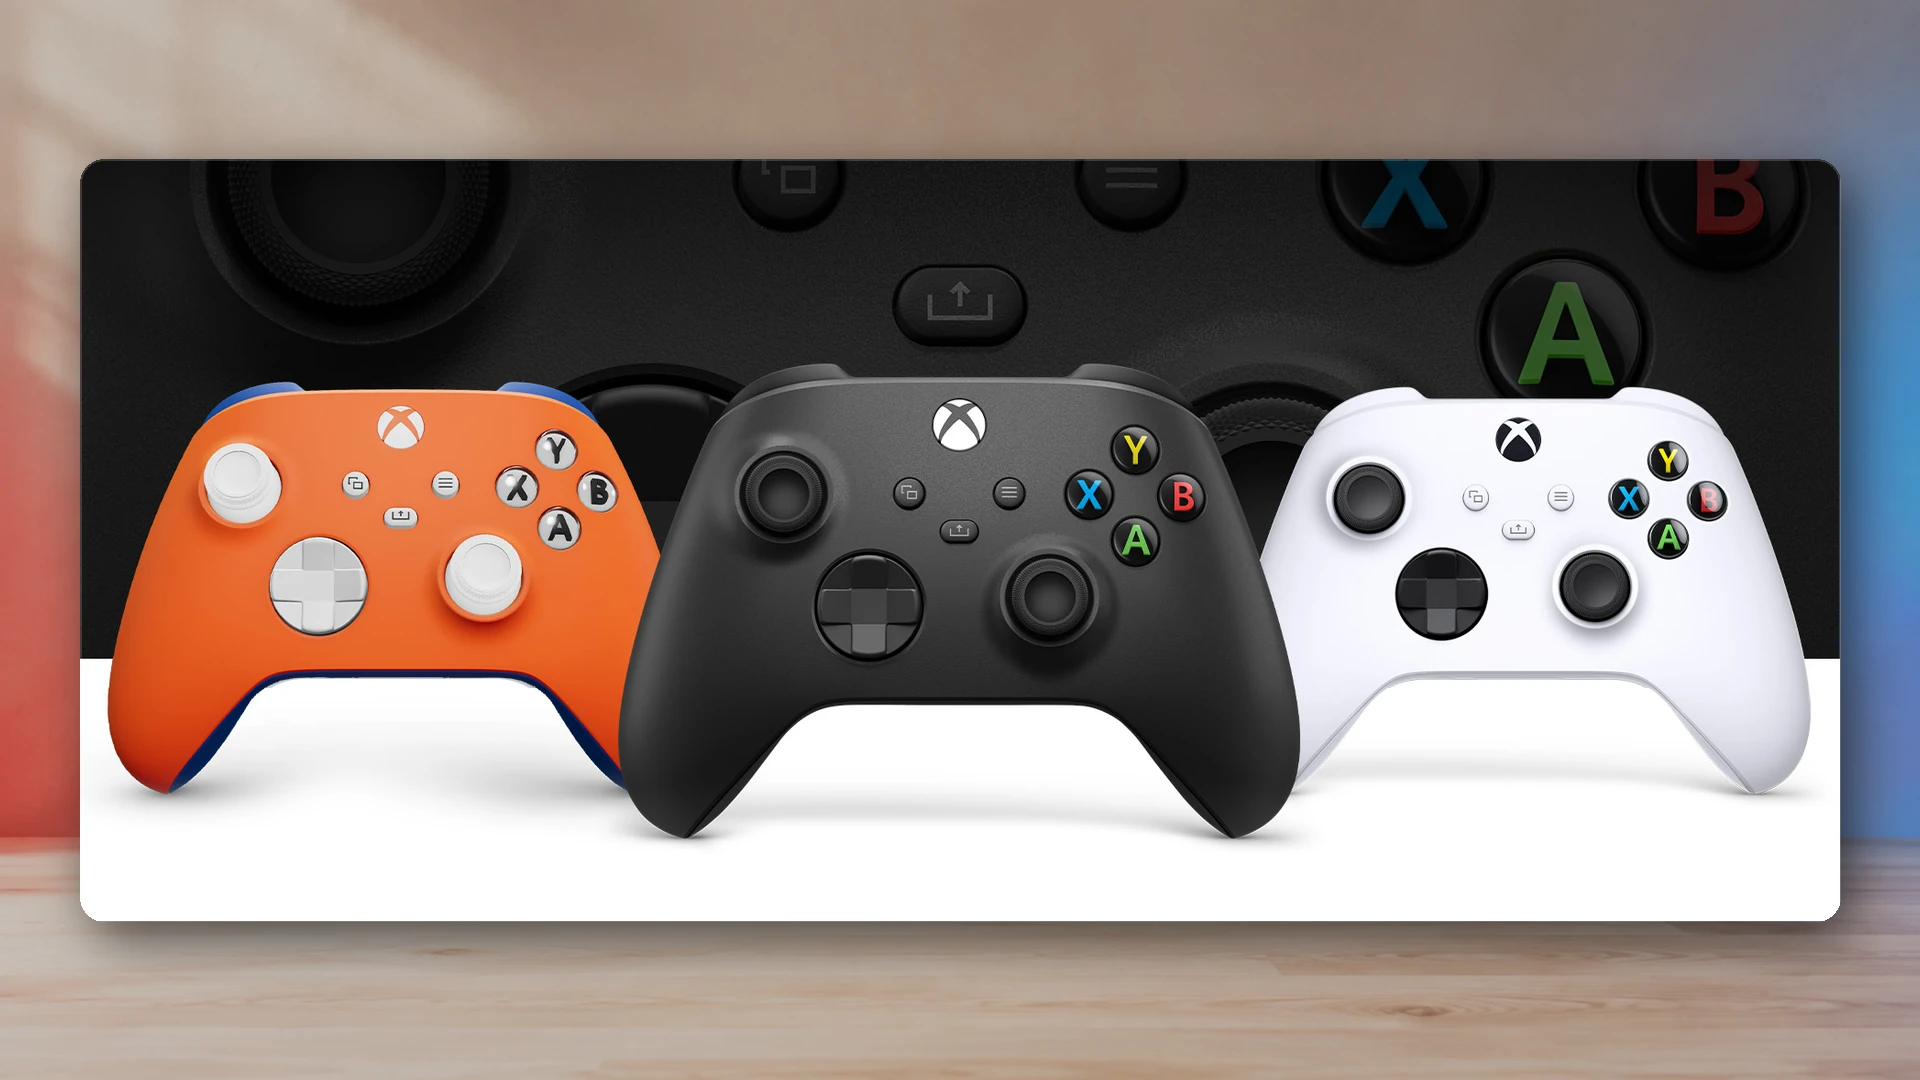
A no-nonsense guide to the controller settings that decide when stick movement begins, how directions are shaped, and why copying another player’s deadzone rarely works perfectly.
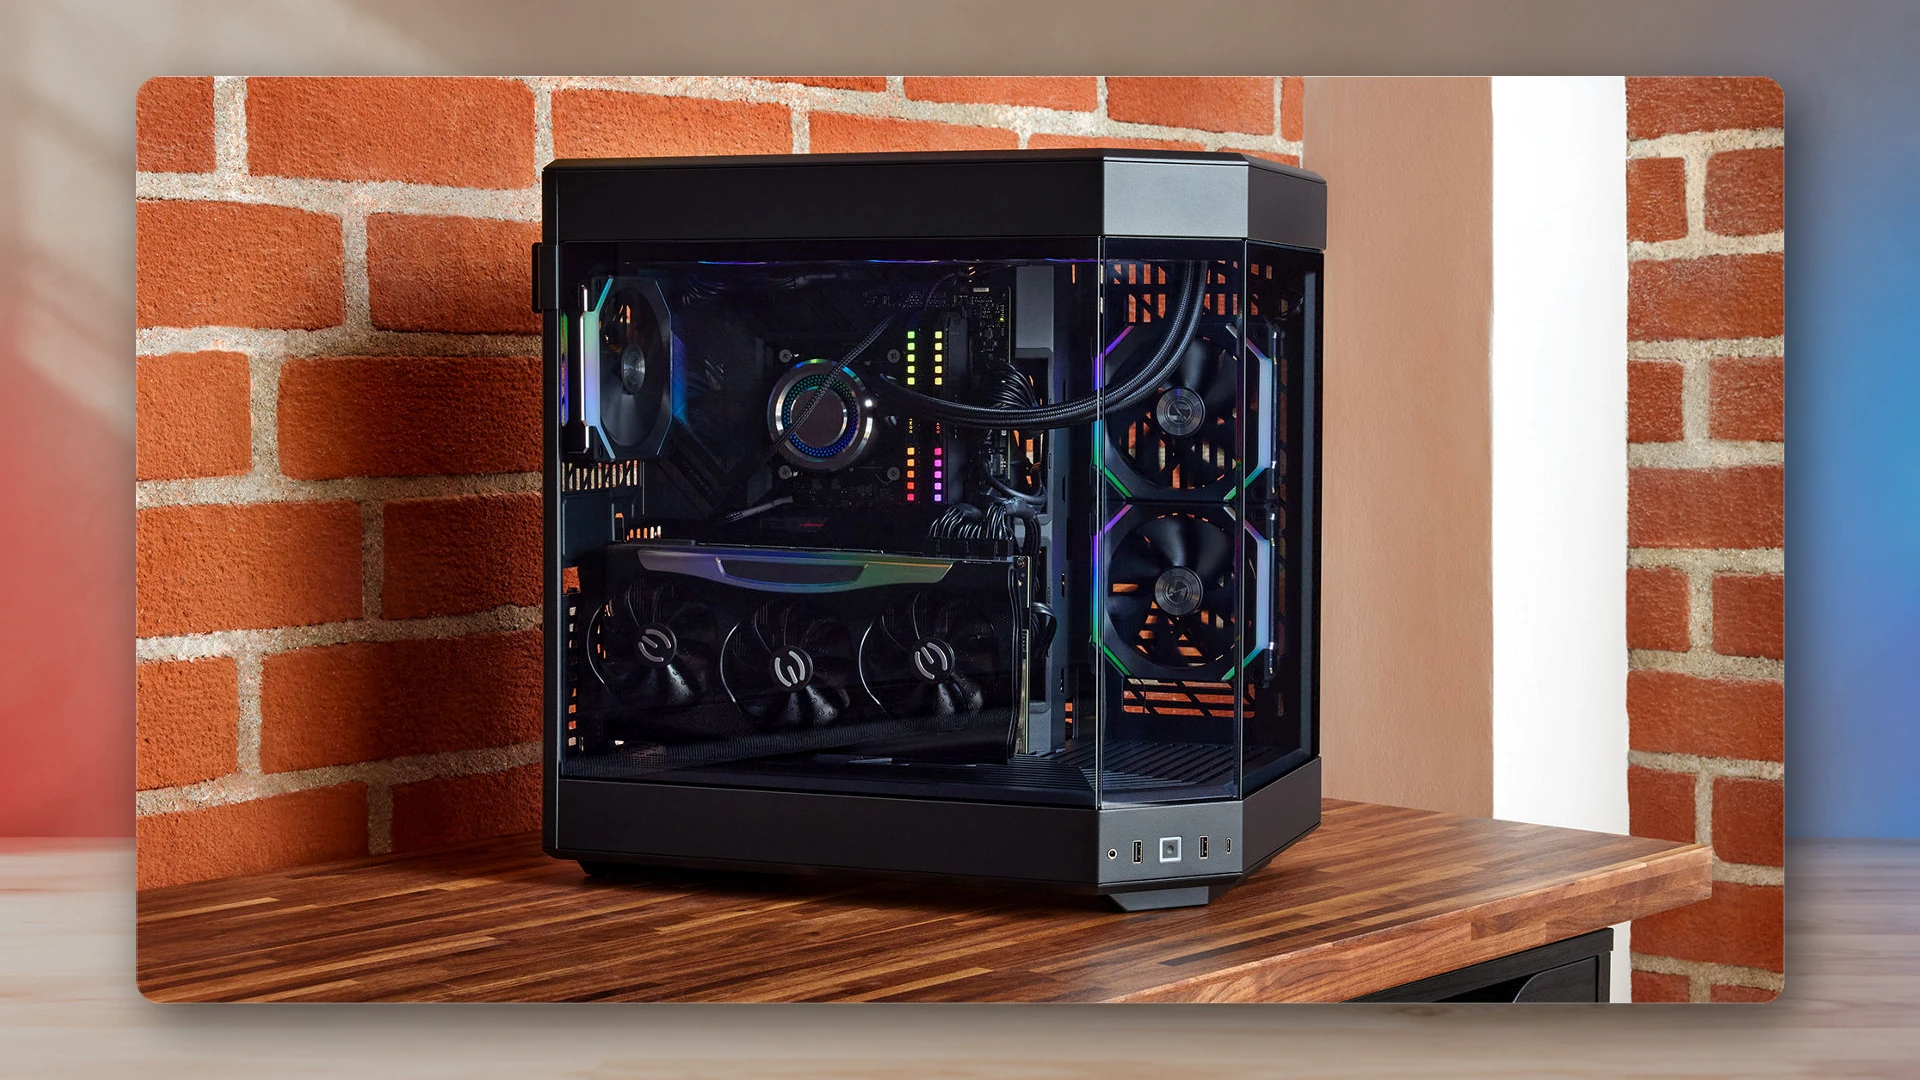
A practical PSU guide that goes beyond one wattage number, with transparent sizing logic, connector checks, ATX 3.x context, efficiency limits, and safety-focused buying advice.
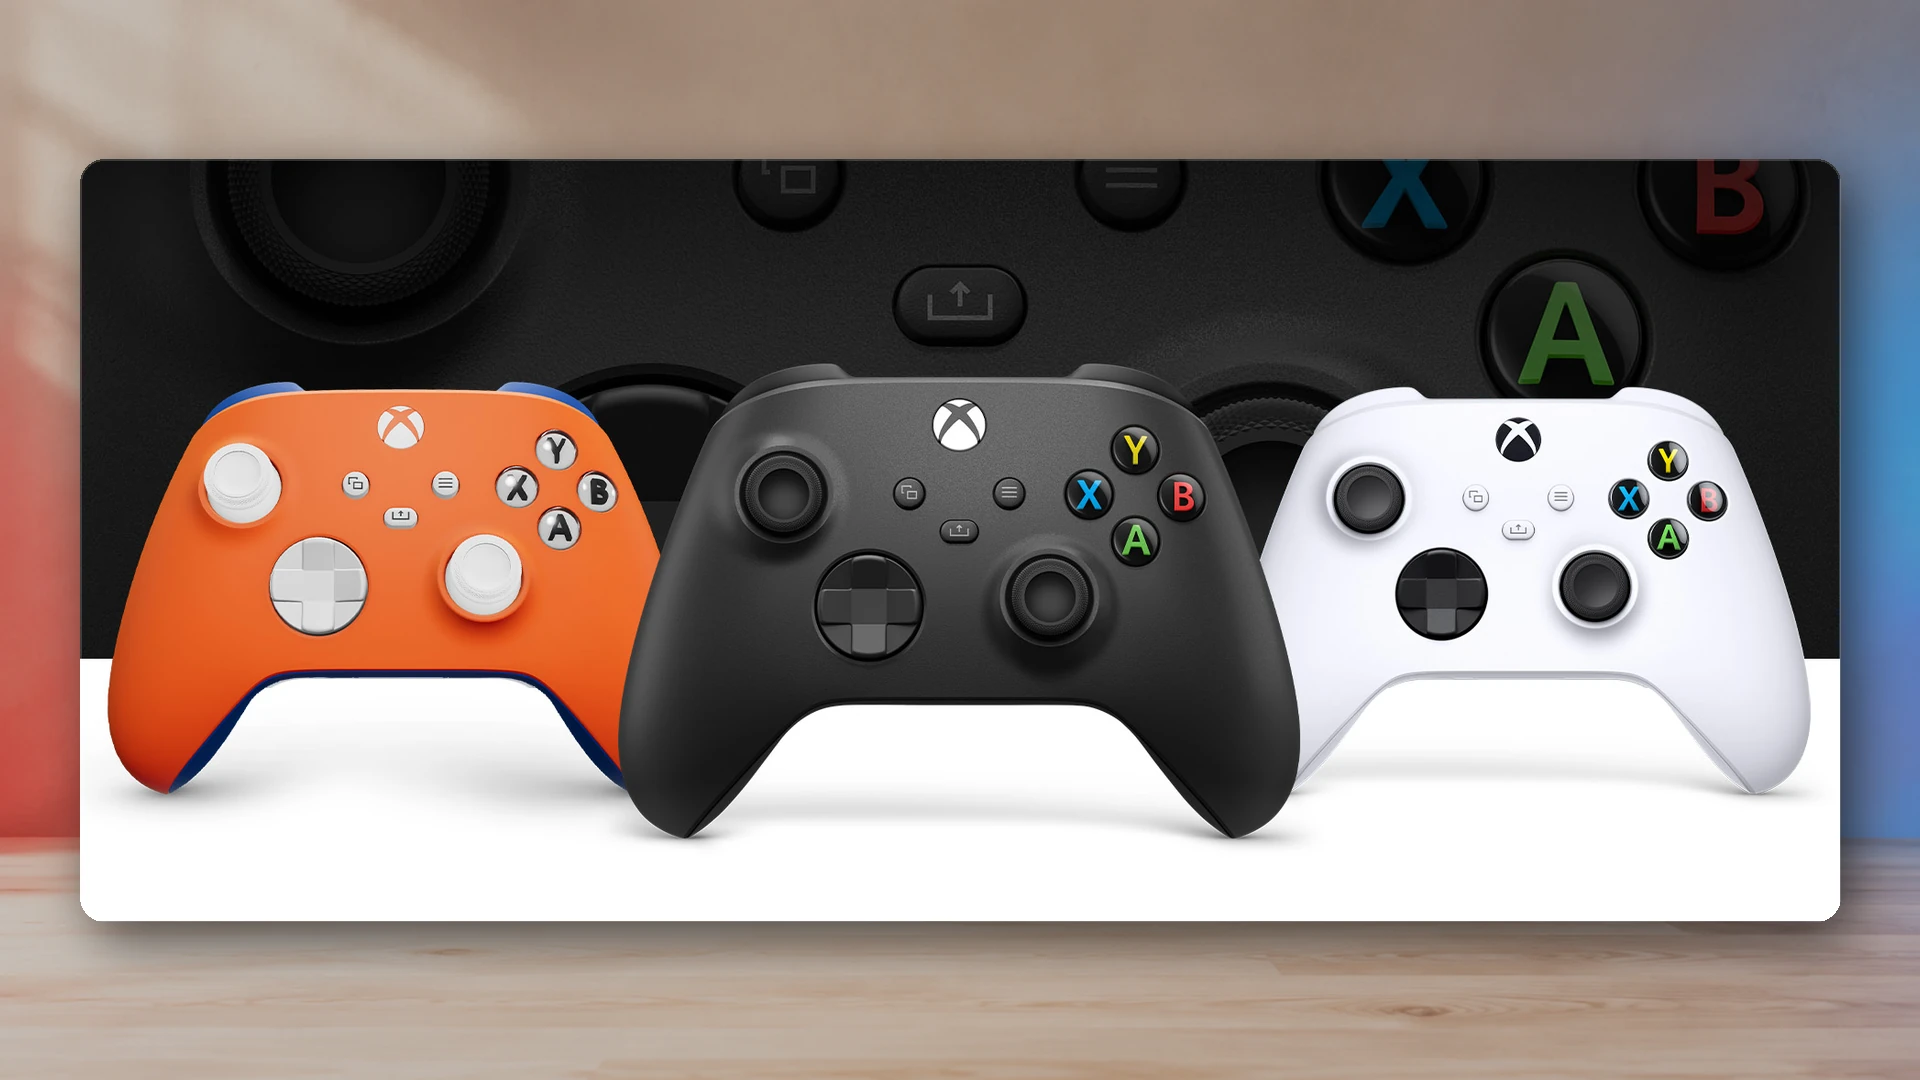
A practical, diagnosis-first stick-drift workflow covering center calibration, repeatable tests, deadzones, safe cleaning, platform resets, repair decisions, and replacement warning signs.
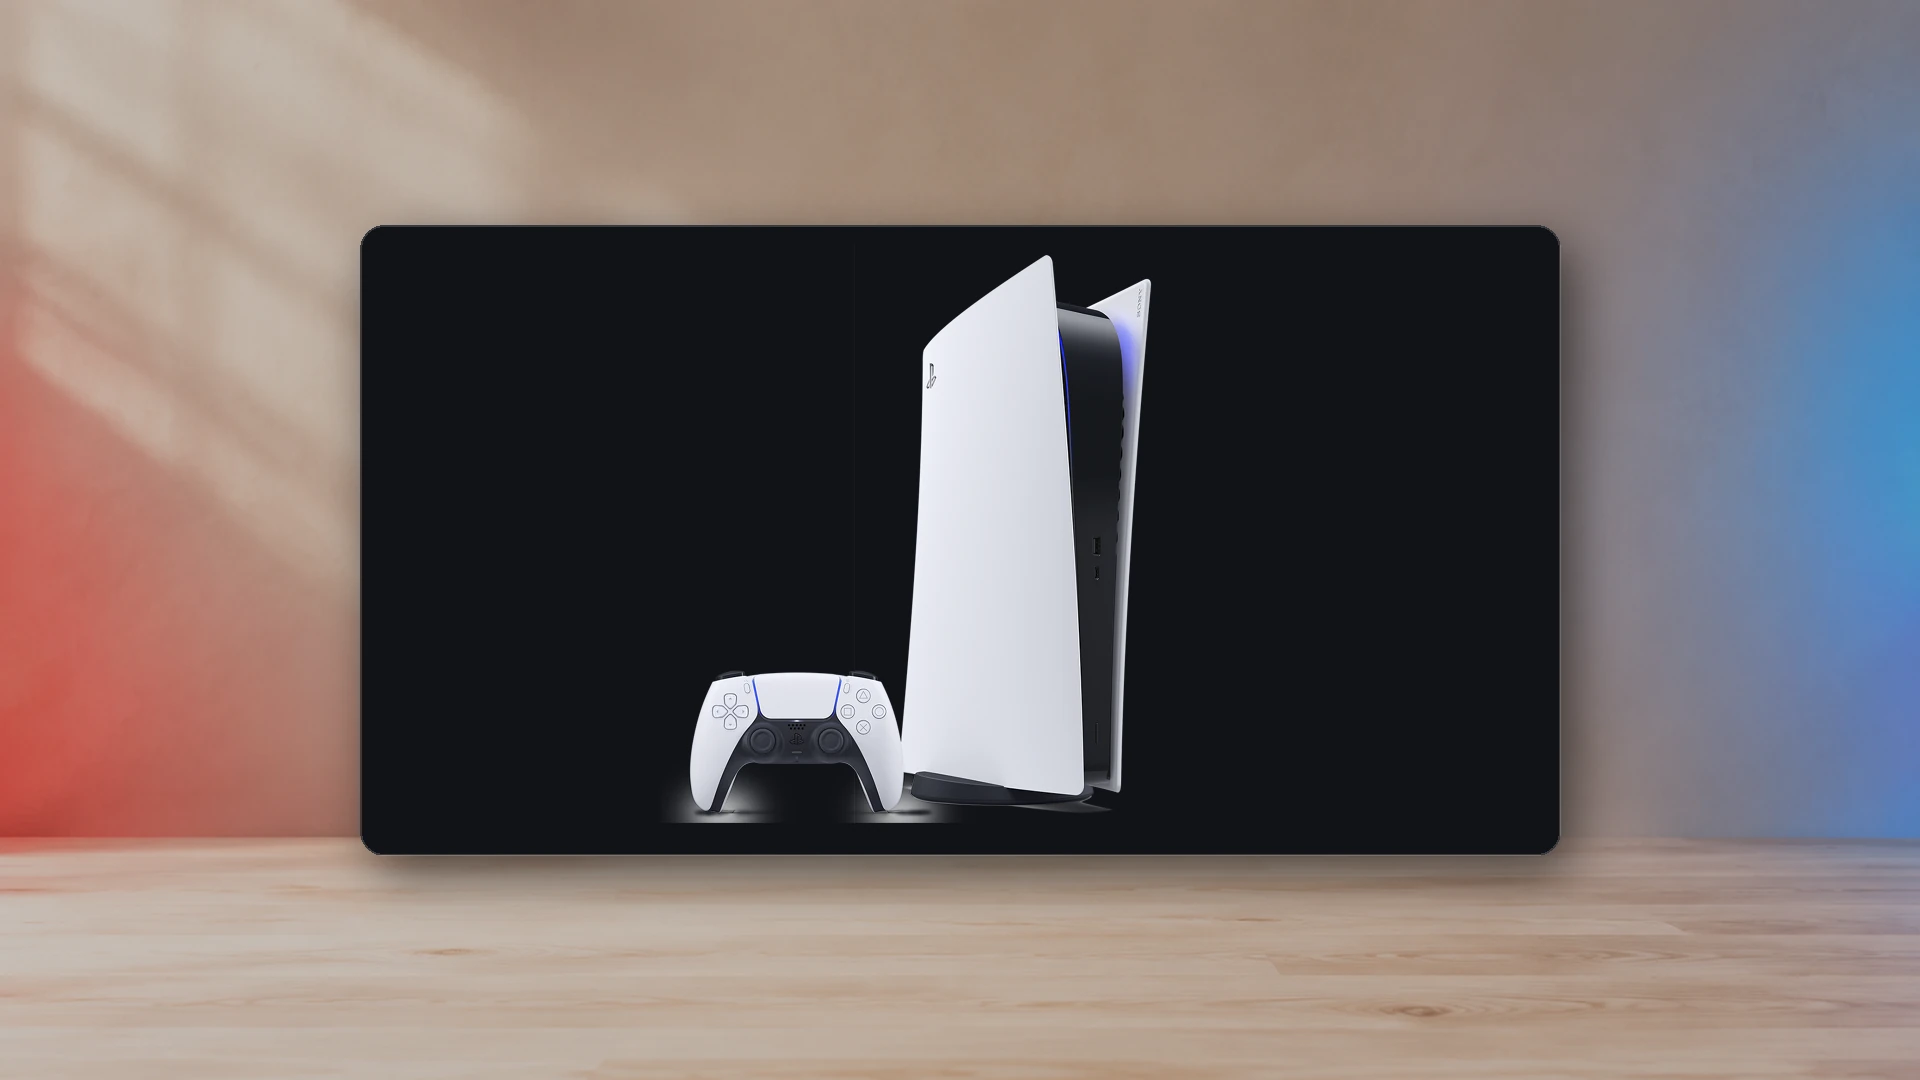
A repeatable PS5 HDR workflow that separates console calibration from television tone mapping and in-game settings, with practical fixes for raised blacks, dim images, clipped highlights, and inconsistent games.
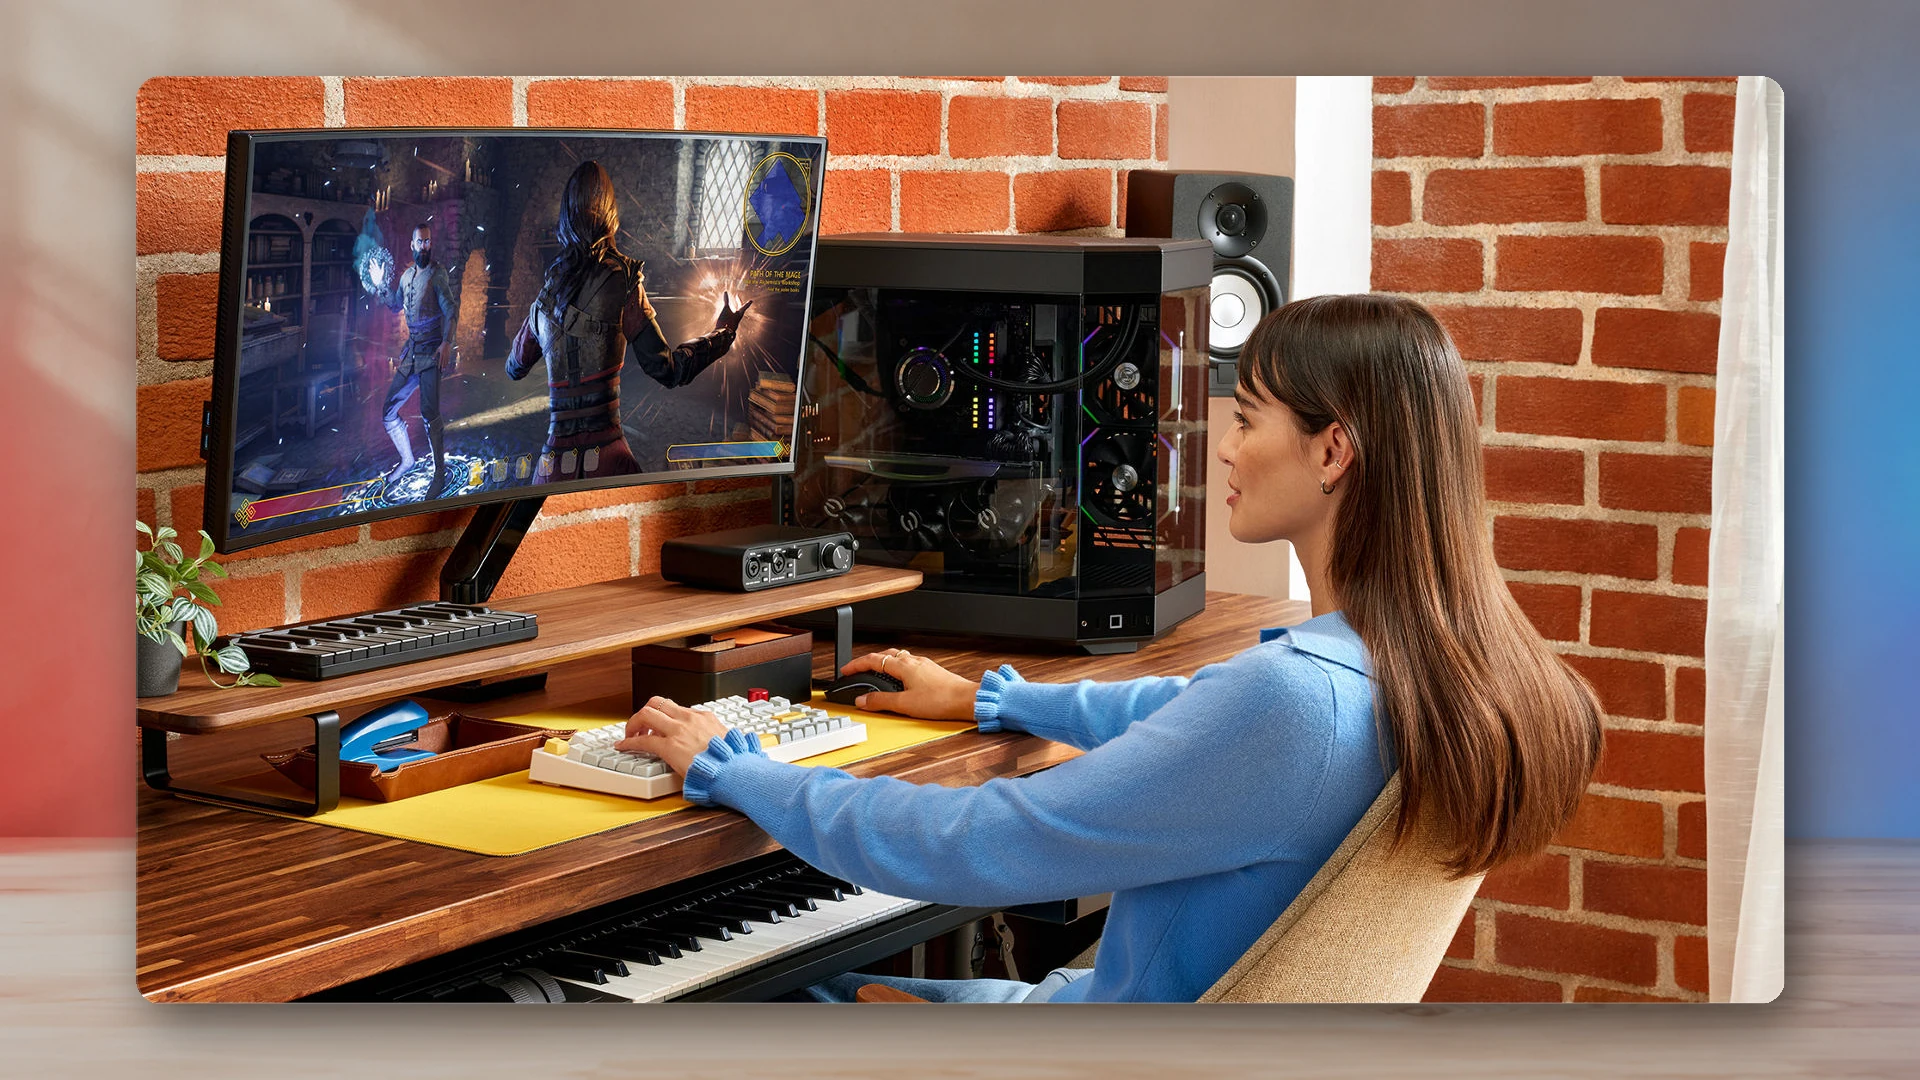
A change-one-variable workflow for recording frame time, reproducing the same route, identifying repeatable patterns, and deciding whether settings, software, or hardware is responsible.