

How to Test and Fix Controller Stick Drift: A Diagnosis-First Guide
A practical, diagnosis-first stick-drift workflow covering center calibration, repeatable tests, deadzones, safe cleaning, platform resets, repair decisions, and replacement warning signs.
Stick drift is movement reported by an analog stick when you are not intentionally moving it. The symptom may look like a camera that creeps, a character that walks by itself, a menu that will not stay selected, or an aim reticle that refuses to settle. The cause is not always a worn stick module. A game can use a very small deadzone, a platform profile can apply a custom response curve, dirt can interfere with the mechanism, a controller can need recalibration, or a browser can expose a slightly different normalized value than another input layer.
Open the Controller Deadzone Tester
For a quick browser check, measure the untouched center in the controller tester, then repeat after releasing each stick from several directions. Compare the recorded center drift with your chosen threshold before adjusting the game. The live plot is center-adjusted after calibration, so a centered dot alone does not prove that the original drift disappeared. Keep the exported result for comparison.
What stick drift actually looks like
An analog stick normally reports two axes. The centered position is near zero on both axes, while the outer directions approach the edge of the normalized range. A controller does not need to display exactly 0.000 at every instant to feel normal. Small electrical and mechanical variation is expected, and games commonly ignore a center region called the inner deadzone.
The meaningful question is whether the untouched signal is stable and whether it exceeds the deadzone used by the game. A center value that remains small and consistent can be hidden by a modest deadzone. A value that jumps, wanders, or grows during play is more likely to remain noticeable even after settings are adjusted.
Step 1: reproduce the symptom outside one game
- Test the same controller in at least two games with different camera or movement controls.
- Check whether the symptom follows one physical stick and direction.
- Disconnect other controllers, adapters, remappers, or virtual gamepad software.
- Test through both the usual connection and a direct wired connection when supported.
- Use the browser tester as a separate observation surface.
If the movement occurs only in one game, inspect that game’s deadzone, response curve, aim assist, gyro, mouse-emulation, and controller-profile settings before treating the controller as defective. The controller deadzone guide explains the settings that most often mask or expose the symptom.
Step 2: collect an untouched center sample
Place the controller on a stable surface and do not touch either stick. In the NexusArc tester, start the session and choose Calibrate untouched center. The tool collects repeated samples instead of judging one frame.
- Center drift records how far the signal reached from the expected center during the sample.
- Center jitter describes how much the reported position varied around its average.
- Offset records the average center point so the outer-range trace can be interpreted separately from the initial bias.
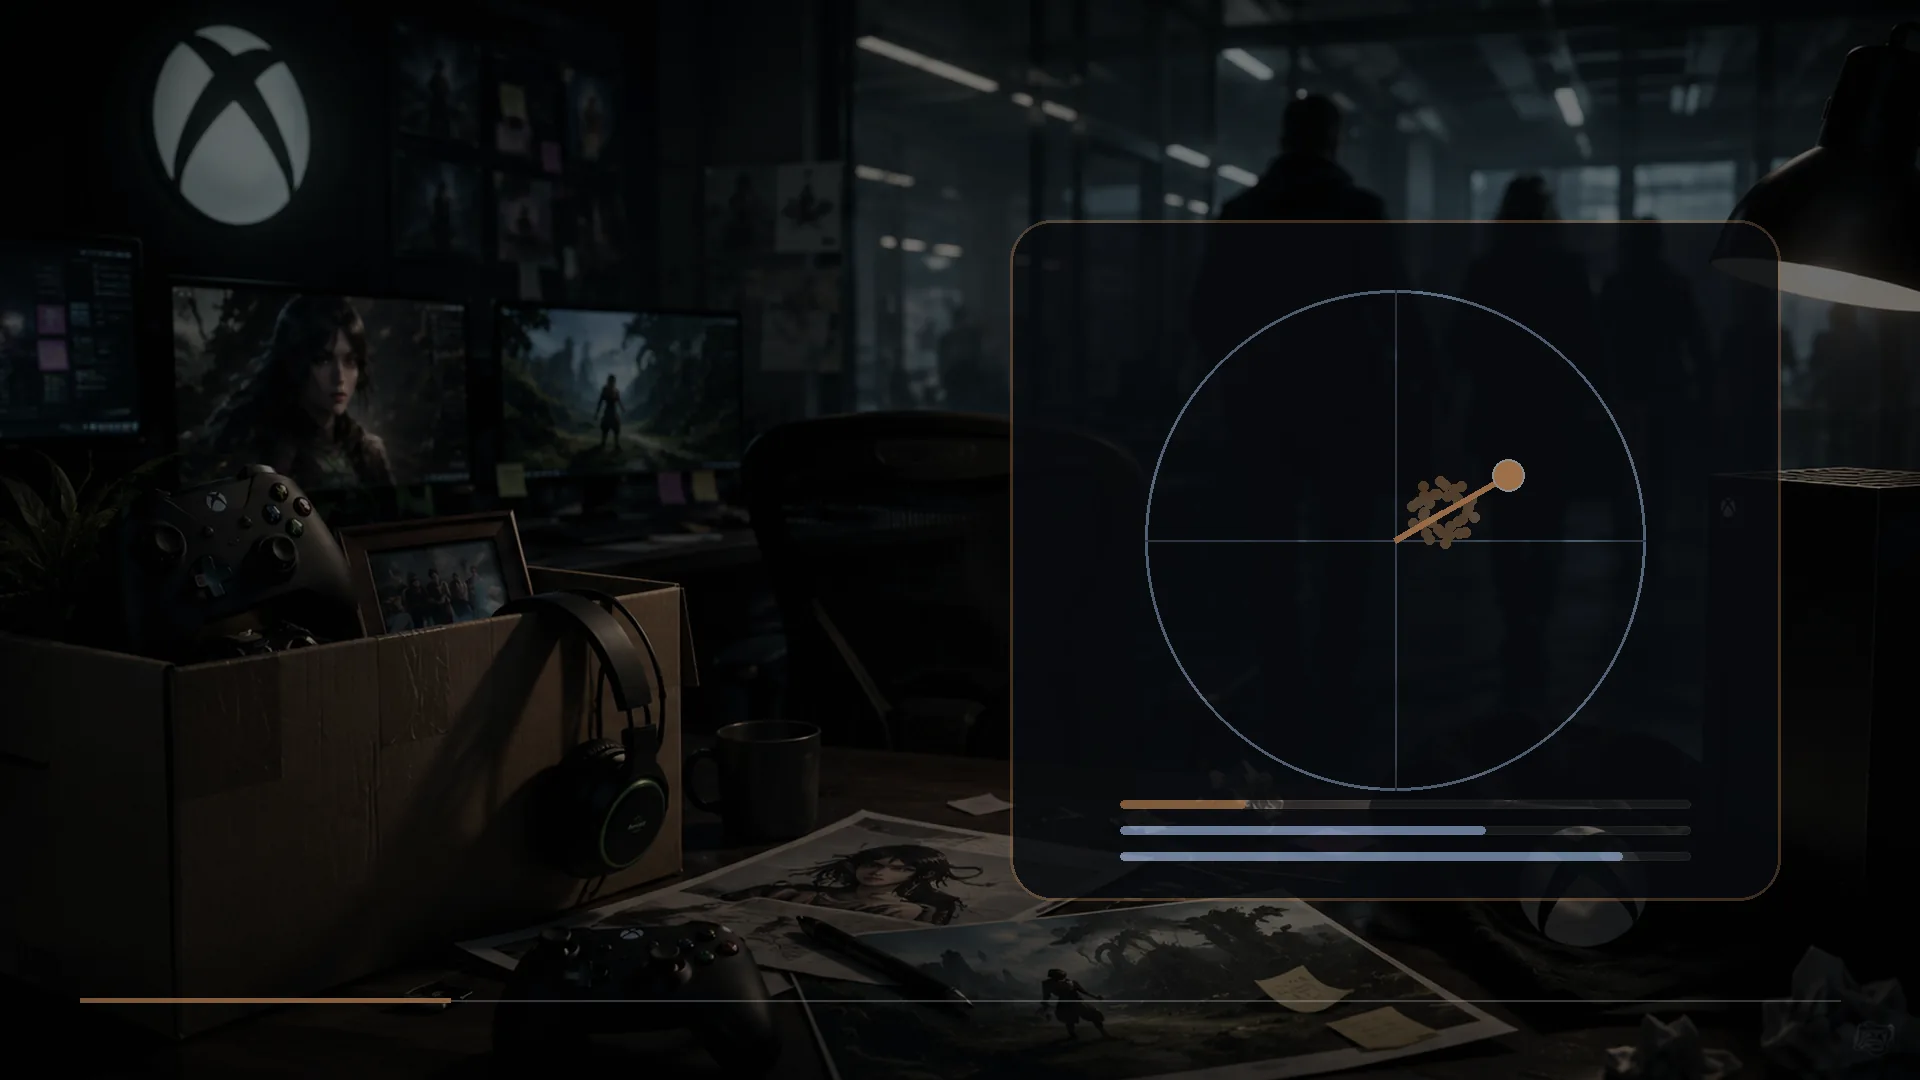
Use the deadzone slider as a comparison line, not as a universal verdict. If the observed center remains inside 0.08, for example, a game using a 0.10 radial deadzone may hide it, while a game using 0.05 may expose it. The smallest acceptable deadzone depends on the controller, game, response curve, and your tolerance for unintended motion.
Step 3: check whether the stick returns to center consistently
Move the stick to each cardinal direction, release it naturally, and watch where it settles. Repeat the movement from several angles. A worn or contaminated mechanism may return to a different point depending on the direction of release. That directional dependence matters more than one isolated decimal value.
Also compare the controller after it has been used for several minutes. Heat, grip pressure, and repeated movement can make an intermittent fault easier to reproduce. Do not strike or snap the stick against its gate; the goal is to reproduce normal play, not create an extreme result.
Step 4: test the full outer range
Start the full-range test and rotate each stick slowly around its physical outer gate. Complete several smooth circles in both directions, then push through the cardinal and diagonal directions. The tester records angular coverage, minimum edge reach, maximum radius, and circularity variation.
A center-drift problem and an outer-range problem are different. A controller can center well but fail to reach full movement in one direction. It can also reach every direction while still reporting unintended center motion. Read the controller circularity explainer before treating a non-perfect circle as a defect.
Step 5: rule out software and profile causes
- Return the game’s controller settings to a known default.
- Disable Steam Input, platform remapping, or third-party remappers temporarily, then retest.
- Remove custom anti-deadzone and response-curve settings.
- Check whether the game uses separate movement and camera deadzones.
- Turn off gyro aiming if the camera movement could be motion input rather than stick input.
- Update the controller, console, operating system, launcher, and game.
When the browser, a console test screen, and several games all show the same directional movement, the case for a controller-side problem becomes stronger.
Step 6: reset or recalibrate through the supported platform
Use the manufacturer or platform calibration path when one is available. PlayStation provides a physical reset procedure for DualSense controllers and troubleshooting steps for connection and input problems. Steam Input can apply controller-specific calibration and deadzone behavior. Other controllers may expose calibration through their official accessory application.
Record the original settings before changing them. After recalibration, rerun the same untouched-center and return-to-center sequence. A real improvement should be visible under the same conditions rather than judged from memory.
Step 7: clean safely
Turn the controller off and disconnect power before cleaning. Begin with external cleaning around the stick shaft and gate using a clean, dry, lint-free method. Rotate the stick gently to expose the full perimeter. Do not flood the controller with liquid, spray cleaner directly into openings, or use a lubricant that can leave conductive or sticky residue.
Opening the controller can damage clips, cables, seals, or warranty coverage. Follow model-specific service information and local warranty terms. If you are not comfortable disconnecting batteries and ribbon cables, stop at external cleaning and use a qualified repair service.
When a larger deadzone is an acceptable fix
A slightly larger deadzone is reasonable when the center signal is stable, the required increase is small, and the controller still provides enough usable range for the game. It is less satisfactory when the deadzone must keep increasing, the signal is unstable, or fine aim becomes difficult.
A deadzone changes what the game ignores; it does not repair the physical source of the signal. Save the controller profile in the tester only as a local comparison reference. The game still needs its own setting.
When repair or replacement makes more sense
- The stick reports movement outside a practical deadzone while untouched.
- The center wanders or spikes instead of remaining stable.
- The problem appears across platforms and games.
- One direction repeatedly fails to return or reach the outer edge.
- Recalibration and safe external cleaning do not change the result.
- The controller has physical damage, liquid exposure, or an inconsistent click mechanism.
Compare repair cost, parts availability, warranty coverage, soldering requirements, and the value of the controller. Some modular controllers allow a stick assembly to be replaced without soldering; many standard controllers do not.
Does wired mode prove the controller has less drift?
No. A wired connection may remove wireless interference or a connection-layer problem, but it does not remove a physical center offset in the stick module. It is still a useful comparison because it changes one part of the input chain. The wired versus Bluetooth controller latency guide explains why transport is only one part of the path from input to a visible frame.
A repeatable test record
Export the JSON report after each meaningful change: before calibration, after calibration, after cleaning, and after changing hardware. Keep the controller, browser, threshold, connection, and procedure consistent. That record is more useful than a screenshot of one moving dot because it preserves center stability, range coverage, circularity, trigger travel, and controller identification together.
Final diagnosis checklist
- Confirm the symptom in more than one game.
- Collect an untouched center sample.
- Repeat returns from several directions.
- Complete the outer-range test.
- Reset remapping and deadzone settings.
- Update and recalibrate through the official platform.
- Clean externally and safely.
- Compare before-and-after reports.
- Repair or replace only when the fault remains repeatable.
The goal is not to force every controller to display perfect zeros or a perfect circle. The goal is to determine whether the controller produces stable, controllable input in the games you actually play.
Sources
- Gamepad specificationWorld Wide Web Consortium
- Using the Gamepad APIMDN Web Docs
- Steam Input documentationValve
- How to troubleshoot DualSense wireless controller issuesPlayStation Support

Harry Negron
Harry Negron leads NexusArc's editorial direction across games, player culture, gear, and technology.