

Controller Deadzone Settings Explained: Inner, Outer, Radial, Axial, and Anti-Deadzone
A no-nonsense guide to the controller settings that decide when stick movement begins, how directions are shaped, and why copying another player’s deadzone rarely works perfectly.
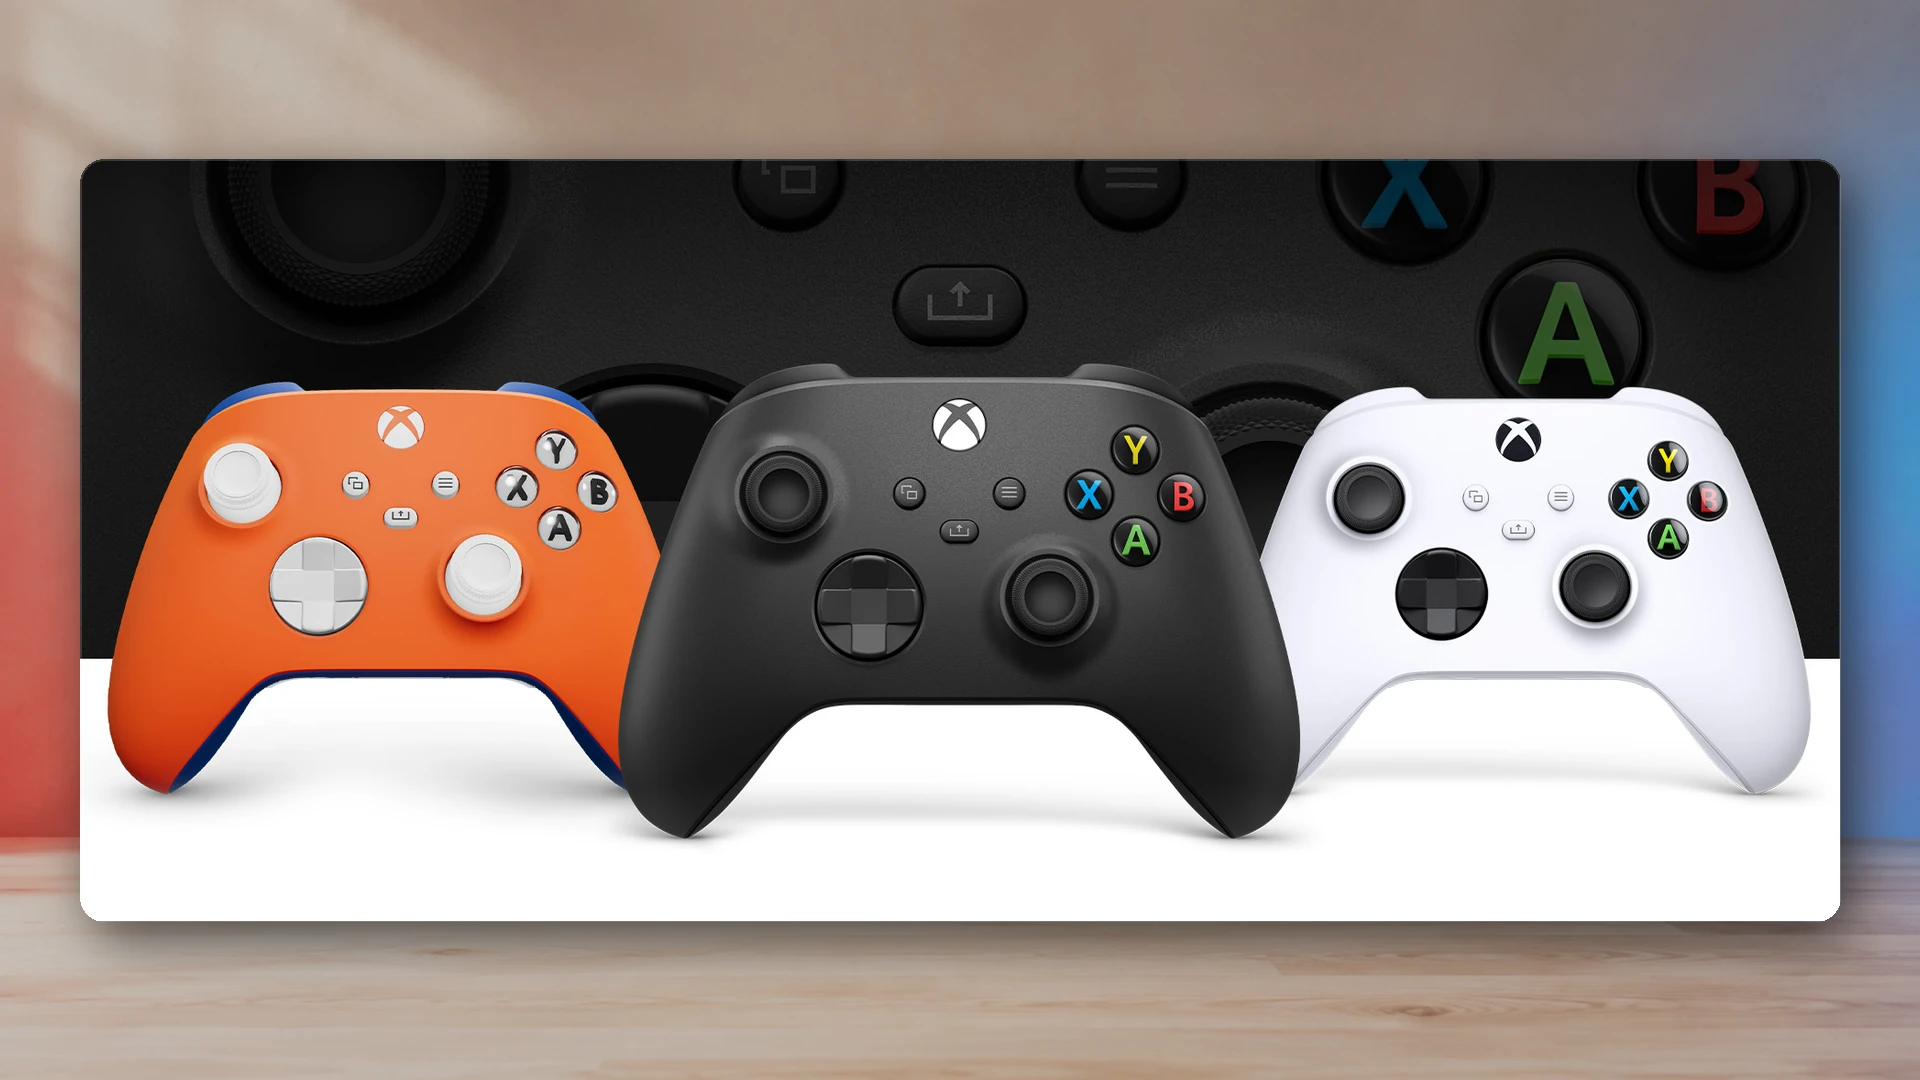
A controller deadzone is a region of analog-stick input that software treats differently from the rest of the range. The most familiar version is the inner deadzone around the center: movement inside it is ignored so tiny electrical variation or mechanical looseness does not move the character or camera. Modern games and input tools can also apply an outer deadzone, anti-deadzone, response curve, axial filtering, radial filtering, acceleration, and smoothing.
Measure your controller before tuning
Inner deadzone
The inner deadzone defines how far the stick must move from center before the game begins responding. With a setting of 0.10 on a normalized 0-to-1 radius, the first portion of physical travel is ignored or remapped.
A larger inner deadzone can hide a stable center offset. It can also make small aim corrections feel unresponsive because the player must cross more physical travel before any movement appears. If you increase it, do so in small steps and retest both slow aiming and rapid direction changes.
Outer deadzone
The outer deadzone decides how early the game treats the stick as fully deflected. It is useful when a controller cannot reach the expected maximum in every direction. For example, an outer threshold of 0.95 can let a stick that reaches 95 percent of the normalized range still command full speed.
Setting the outer threshold too low compresses too much of the remaining travel into the maximum response. That can make acceleration abrupt and reduce control near the edge. Use the full-range trace in the NexusArc tester to see whether one stick or direction consistently falls short before changing the setting.
Radial deadzone
A radial deadzone judges the distance from center using both axes together. The ignored region is circular in mathematical input space. Radial processing preserves diagonal direction more naturally because the decision depends on magnitude rather than checking X and Y separately.
It is often the most intuitive choice for camera control and movement, but the game’s later response curve still determines how quickly output grows after the threshold.
Axial deadzone
An axial deadzone evaluates the horizontal and vertical axes separately, creating a cross-like or square-influenced response. It can help a stick hold a pure horizontal or vertical direction because small motion on the other axis is suppressed. It can also make diagonal movement feel less uniform.
Some games combine axial assistance with radial magnitude processing. Do not assume a menu label describes the entire algorithm.
Anti-deadzone
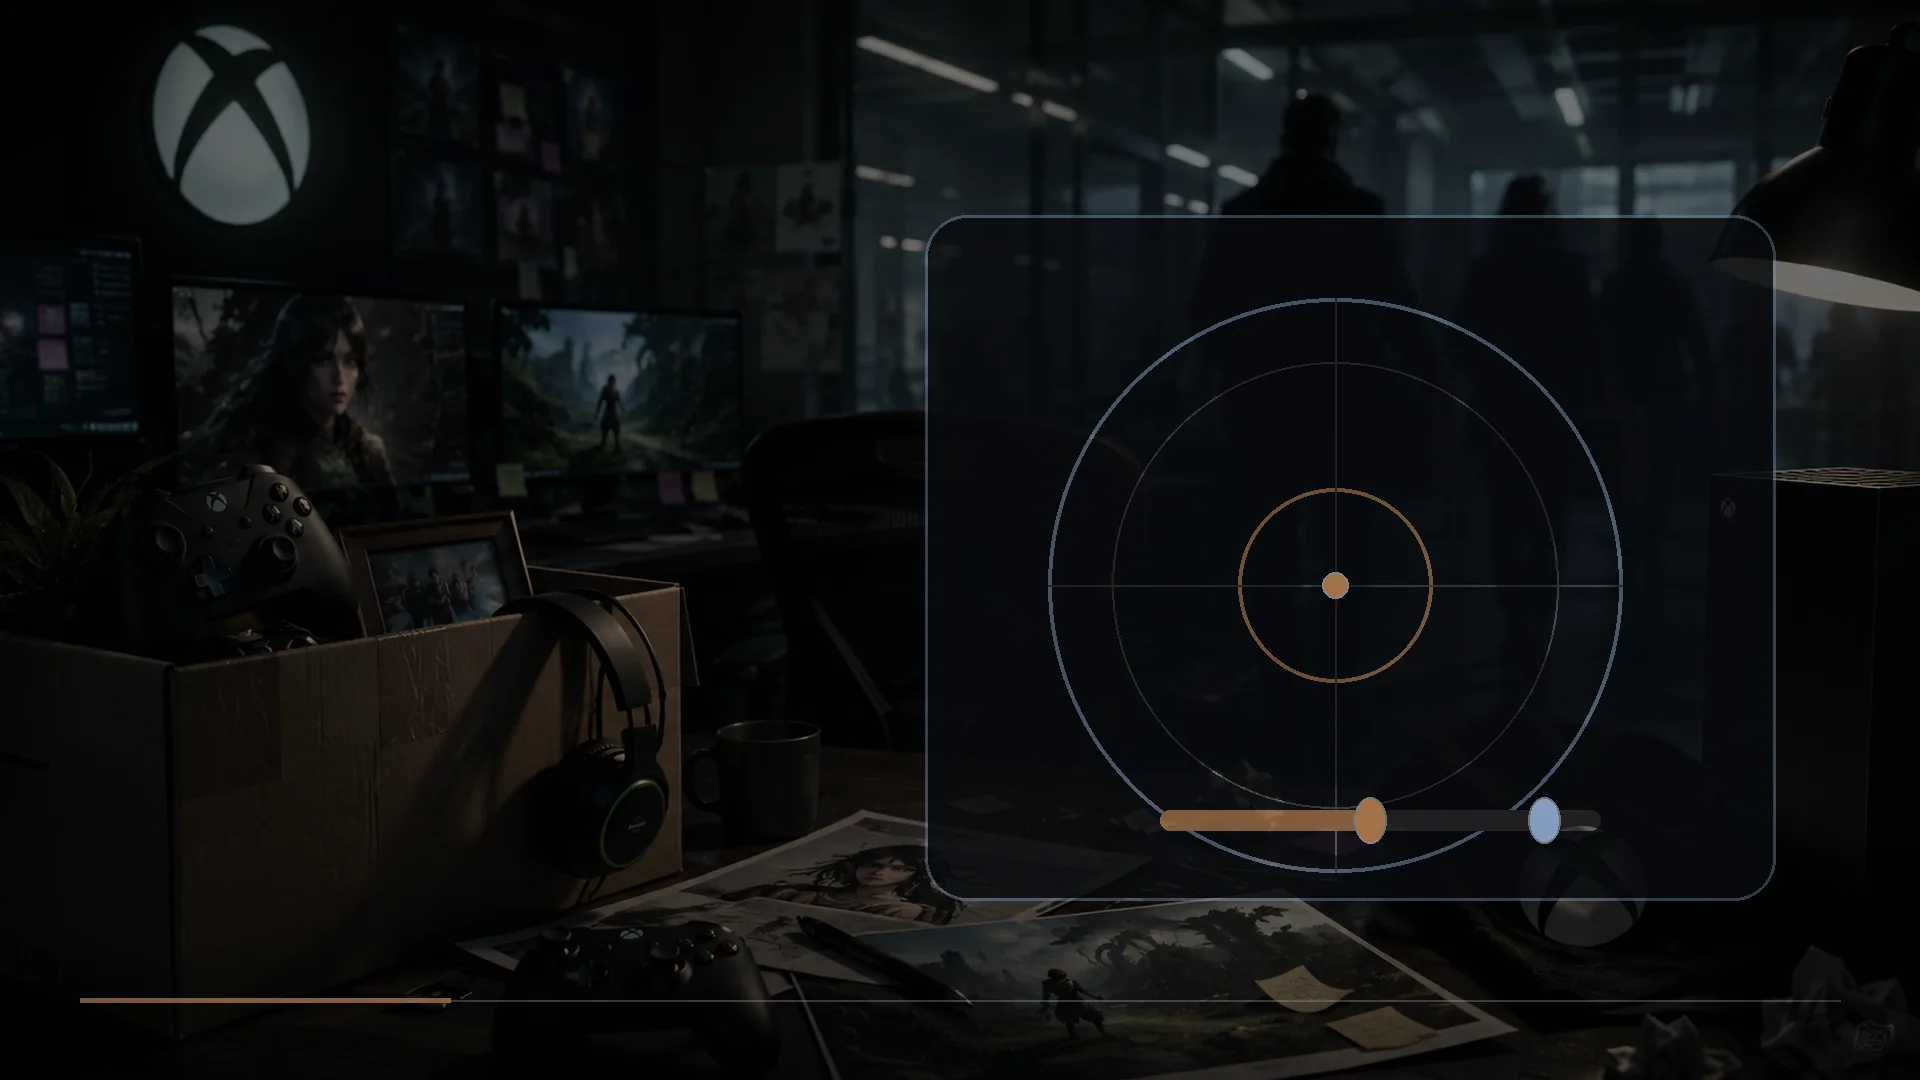
Anti-deadzone adds a minimum output once the stick leaves the ignored center. It is commonly used when a game has a built-in deadzone that cannot be disabled. A remapper can jump the output past that built-in threshold so physical movement begins producing a response sooner.
Too much anti-deadzone creates a visible jump: the camera or character goes from no motion to a nontrivial speed immediately. It can also amplify center noise. Use it only when compensating for a known downstream deadzone, and increase it gradually.
Steam Input: outer ring is not outer deadzone
Steam Input's outer ring binding activates an assigned button or action when the stick crosses a chosen radius; inversion can make it activate inside that radius instead. That is different from the outer deadzone, which changes when analog output reaches its maximum. If sprint activates too early, inspect the ring binding radius before changing analog range scaling.
For a game with a built-in deadzone, Steam Input's anti-deadzone raises the minimum output, while its anti-deadzone buffer preserves a center area that sends no input. Change one setting at a time and test in the game. The browser tester does not edit or reproduce the game's Steam Input profile. See Valve's input source mode reference for the distinction between these controls.
For every Steam Input stick option in one place, including deadzone source, deadzone shape and response curves, see Steam Input joystick settings explained.
Response curves
A response curve maps physical stick magnitude to game output after deadzone processing. A linear curve increases output evenly. A slower curve near center preserves fine aim but requires more movement for the same early response. A faster or aggressive curve reacts more strongly near center.
Curve preference depends on the game and task. Competitive aiming may benefit from controlled low-end response, while fast camera turns may favor stronger midrange output. Evaluate the curve after choosing a stable deadzone; changing both at once makes the result harder to diagnose.
Deadzone shape and circularity
The physical gate, stick mechanism, firmware, driver, and game can shape the outer response. A perfect mathematical circle is not a universal requirement. Some controllers intentionally produce a square-like or clipped path, and some games clamp diagonal magnitude. The circularity error guide explains how to interpret outer traces without treating one score as a pass/fail label.
Recommended tuning sequence
- Return the game or input profile to a known default.
- Measure the untouched center for several seconds.
- Set the inner deadzone just above repeatable unwanted motion.
- Test slow aim, menu navigation, and movement release.
- Complete a full-range trace.
- Adjust the outer threshold only if full output is not reached consistently.
- Choose a response curve for feel after stability is solved.
- Add anti-deadzone only when compensating for a known built-in deadzone.
- Retest in the actual game and save the profile name and values.
Example: stable but slightly offset stick
Suppose an untouched stick repeatedly settles around a radius of 0.035 and remains stable. An inner deadzone around 0.05 may hide it while preserving most travel. Setting 0.15 would also hide it, but at a much greater cost to fine input. The numbers are illustrative; use your own repeatable measurement and game behavior.
Example: noisy center
If the center jumps between 0.02 and 0.12, one deadzone value cannot make the mechanism stable. A value above the spikes may prevent visible drift, but control will feel coarse. Use the stick-drift diagnosis workflow to test recalibration, settings, cleaning, and repair rather than continually increasing the deadzone.
Example: weak outer range
If the stick reaches 1.00 in most directions but only 0.91 in one sector, a modest outer threshold can restore full output. First repeat the trace to confirm it is consistent. An incomplete rotation or a hand position that misses the gate can look like a hardware limitation.
Settings that are not deadzones
- Sensitivity changes the amount or speed of in-game response.
- Acceleration changes response based on time or input magnitude.
- Smoothing filters rapid changes, often adding a softer feel.
- Aim assist modifies targeting behavior near game-defined targets.
- Gyro adds motion-sensor input that can be mistaken for stick movement.
- Polling and transport affect when samples arrive, not the mechanical center itself.
Why another player’s setting may feel wrong
Two controllers of the same model can have different center variation and outer reach. Games can also use different units, deadzone shapes, and response curves. A value of “5” in one game is not necessarily equivalent to “0.05” in another. Copying a professional player’s setting can be a starting point, but it is not evidence that the same setting fits your controller.
Final recommendation
Measure first, choose the smallest stable inner deadzone, correct outer reach only when the trace supports it, and tune the response curve last. Keep the test procedure and game settings documented so future changes can be compared. A deadzone is a software filter; it is useful, but it should not be used to conceal a worsening hardware fault indefinitely.
Sources
- Gamepad specificationWorld Wide Web Consortium
- Using the Gamepad APIMDN Web Docs
- Steam Input source modesValve

Harry Negron
Harry Negron leads NexusArc's editorial direction across games, player culture, gear, and technology.