

The Ultimate Beginner’s Guide to Building Your First Gaming PC
Learn how to build your first gaming PC, choose compatible parts, assemble the system, install Windows, and avoid common beginner mistakes.
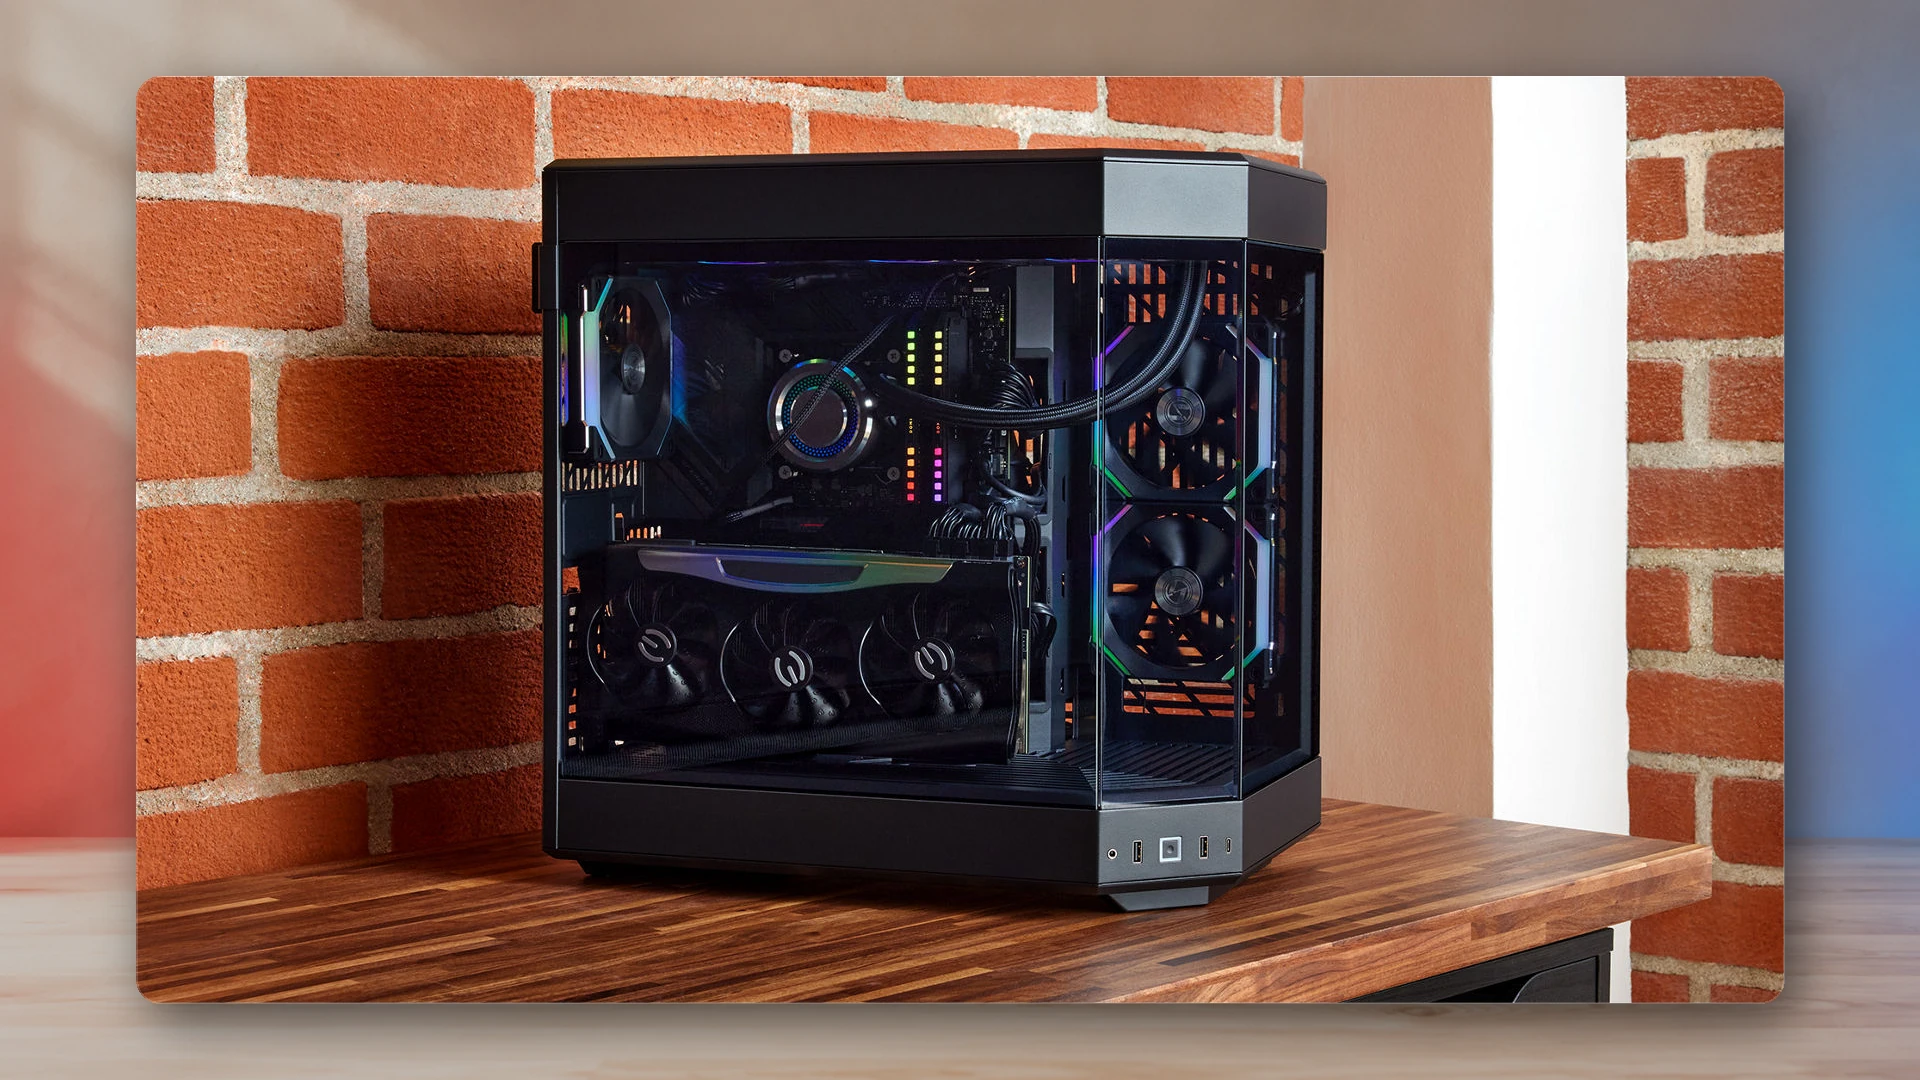
Building a gaming PC is easier when the tower stops looking like one mysterious box and starts looking like a chain of jobs. The CPU handles system work and game logic. The GPU draws the frames. RAM keeps active data close. Storage holds Windows, games, mods, saves, and recordings. The motherboard connects the platform. The power supply feeds everything. The case and cooling decide how comfortably the build runs.
The practical rule for this beginner guide is simple: choose the gaming target first, then buy parts that support that target without wasting money on specs you will not feel.
Start with the games, monitor resolution, frame-rate target, and budget. A 1080p esports PC, a 1440p RPG machine, and a 4K ray-tracing build should not spend money in the same places.
Keep component choices tied to the performance and power targets explained in this guide.
Choose the target before choosing parts
The easiest beginner mistake is buying impressive-looking parts in isolation. A graphics card can be powerful and still be the wrong choice if your monitor, case, power supply, budget, or games do not match it.
1080p / high refresh
Prioritize value, a capable mid-range GPU, and a CPU that keeps frame pacing stable in competitive games.
1440p / high settings
Spend more on the GPU, use 32GB RAM if the budget allows, and leave room for a fast NVMe SSD.
4K / high detail
The GPU dominates the budget. Cooling, power supply quality, case airflow, and monitor choice matter more.
If you play Fortnite, Valorant, Counter-Strike, Apex, or other competitive games, the goal is smooth frame delivery and low input latency. If you play RPGs, action adventures, sims, and cinematic single-player games, visual quality and GPU headroom matter more. If you stream or edit video, reserve more budget for the CPU, RAM, and storage.
The core gaming PC parts
The CPU handles game logic, background tasks, decompression, streaming tools, browser tabs, and system responsiveness. Do not judge it only by core count. Platform, cache, power draw, and upgrade path matter.
The graphics card is the main driver of gaming performance. It controls frame rate, visual settings, ray tracing headroom, upscaling options, and VRAM limits.
The motherboard decides CPU compatibility, memory support, storage slots, rear I/O, expansion, networking, BIOS features, and physical layout. Match socket and chipset before buying.
For a new gaming PC, 16GB is the floor and 32GB is the safer target for heavier games, multitasking, modding, and keeping the build useful longer.
A fast NVMe SSD should be the main drive for Windows and games. Capacity matters because modern installs are huge. A second drive can be added later for captures, mods, and older games.
The PSU protects the expensive parts. Buy enough wattage, the right GPU connectors, solid efficiency, and a reputable model. Do not power a new GPU with a mystery unit.
The case controls airflow, clearance, noise, cable routing, and how hard the build is to assemble. Check GPU length, cooler height, motherboard size, fan support, and front-panel connections.
The CPU cooler and case fans keep temperatures in check. Efficient CPUs can run well on a modest air cooler; hotter chips need a larger tower cooler or liquid cooler.
Budget the build around the experience
A gaming PC budget should not be split evenly across every part. The GPU usually deserves the largest share because it has the clearest effect on frame rate and settings. The CPU should be strong enough to avoid holding the GPU back, but a beginner gaming build rarely needs a workstation-class chip unless the PC also handles production work.
| Budget area | Spend more when... | Do not overspend on... |
|---|---|---|
| GPU | You play at 1440p, 4K, high refresh, or use ray tracing. | Huge cards that exceed your monitor target. |
| CPU | You play CPU-heavy games, stream, edit, or multitask heavily. | Extra cores your use case will not touch. |
| Motherboard | You need Wi-Fi, extra M.2 slots, better I/O, or future upgrades. | Premium boards that do not add features you use. |
| RAM | You mod games, keep apps open, or want the build to age better. | Exotic speeds if the platform gets little real gaming benefit. |
| Case and cooling | You use hot parts or want low noise. | Glass-heavy cases with weak airflow. |
| PSU | You want stability, warranty, and future GPU headroom. | Unknown brands or underpowered units. |
Leave room for the monitor, keyboard, mouse, headset, speakers, controller, Windows license if needed, and a few build tools. A powerful tower still feels incomplete if the desk around it is ignored. For display sizing, use the NexusArc Display PPI and Viewing-Distance Calculator.
Compatibility checks before you buy
Most failed beginner builds are not caused by assembly. They come from ordering incompatible parts. Check the CPU socket against the motherboard, memory type against the motherboard, case size against the motherboard form factor, cooler height against the case, GPU length against the case, and power connectors against the PSU.
- CPU socket: the processor and motherboard must use the same platform.
- Memory type: DDR4 and DDR5 are not interchangeable.
- Case form factor: ATX, Micro-ATX, and Mini-ITX boards need compatible cases.
- GPU clearance: check length, thickness, and power cable space.
- Cooler clearance: tall air coolers and radiators need room.
- BIOS support: some motherboards need an update for newer CPUs.
- PSU connectors: modern GPUs may need specific PCIe or 12V-2x6/12VHPWR-family connectors; match the card maker’s instructions and seat the cable fully.
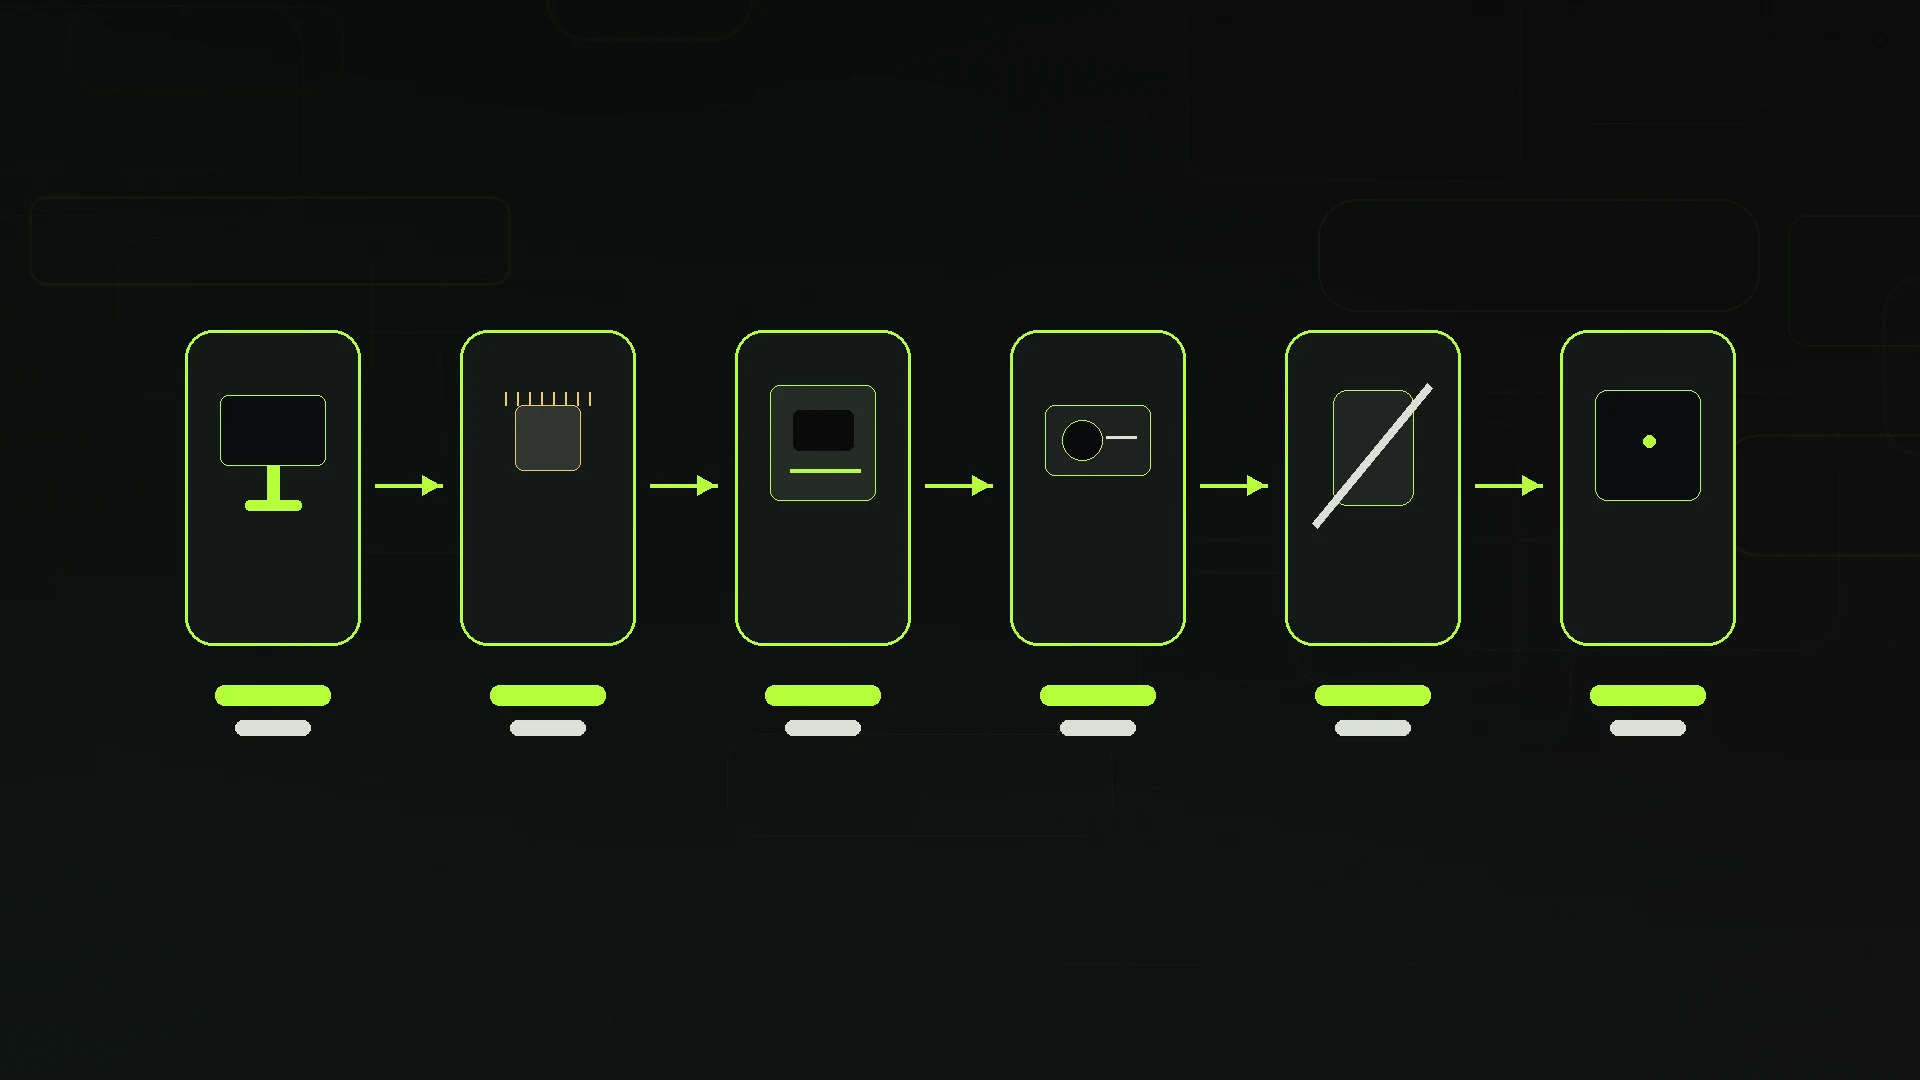
Prepare the workspace and tools
Use a clean table with good lighting. Avoid carpet if possible. Keep drinks away from the parts. Put screws in small bowls or trays and keep the motherboard manual nearby. A magnetic Phillips screwdriver is the main tool. Zip ties or hook-and-loop straps make cable management easier.
An anti-static wrist strap is useful, but the main goal is simple: avoid static buildup and ground yourself before handling exposed parts. Open every box before starting. Confirm that the case has standoffs and screws, the cooler has the right mounting hardware, and the motherboard manual is available for RAM slots, fan headers, M.2 installation, and front-panel pins.
Step-by-step gaming PC assembly
Install the CPU
Open the socket, align the marking on the CPU with the socket guide, lower it gently, and lock the retention arm. Never force the chip.
Install the RAM
Use the motherboard manual to pick the correct slots, usually the second and fourth slots from the CPU for two sticks.
Install the M.2 SSD
Remove the M.2 cover if present, insert the drive at an angle, secure it, and reinstall the heatsink or cover.
Mount the CPU cooler
Apply thermal paste if needed, attach the cooler with even pressure, and plug the fan or pump into the correct header.
Prepare the case
Install standoffs, check airflow direction, route front-panel cables, and confirm that the I/O shield situation is handled.
Install the motherboard
Lower the board onto the standoffs and secure it without overtightening. Make sure no loose standoff sits under the board.
Install the power supply
Mount the PSU with the fan facing the correct vent, then route motherboard, CPU, PCIe, and SATA power cables before the case gets crowded.
Install the graphics card
Use the top full-length PCIe slot, secure the card to the case, and connect the required power cables fully.
Connect fans and front panel
Connect power switch, reset, USB, audio, RGB if used, and case fans. The tiny front-panel connectors are usually the slowest part.
First boot, BIOS, and Windows
Connect the monitor to the graphics card, not the motherboard, unless you are intentionally using integrated graphics. Connect keyboard and power, then turn on the PSU and press the case power button. The first boot can take longer while the motherboard trains memory.
In BIOS, confirm CPU temperature, memory capacity, storage detection, fan behavior, and boot order. Enable the correct memory profile only after the system boots normally. If you are installing Windows 11, the system needs modern platform features such as UEFI, Secure Boot capability, TPM 2.0, and compatible hardware, so confirm those requirements before buying older used parts.
After Windows is installed, update chipset drivers, GPU drivers, motherboard networking/audio drivers if needed, Windows updates, and game launchers. Then install a small set of monitoring tools so you can check temperature and fan behavior without cluttering the system.
Common first-build problems
| Problem | Likely cause | What to check |
|---|---|---|
| No power | PSU switch, front-panel wiring, loose power cable | Wall power, PSU switch, 24-pin cable, CPU EPS cable, power button header |
| Powers on, no display | Monitor cable in wrong port, RAM training, GPU seating | Use GPU HDMI/DP output, reseat RAM, reseat GPU, check debug LEDs |
| Boot loops | Memory profile instability or BIOS issue | Reset BIOS, boot at default memory speed, update BIOS if required |
| High temperatures | Cooler mount, fan direction, forgotten plastic film | Cooler pressure, thermal paste, fan headers, airflow path |
| Storage missing | M.2 slot sharing, loose drive, BIOS setting | Manual slot notes, drive seating, BIOS storage page |
Maintenance and smart upgrades
A gaming PC is not finished on day one. Dust it a few times a year, keep GPU and chipset drivers current, monitor temperatures after major changes, and avoid random driver utilities. Update the BIOS when a new CPU, memory compatibility fix, or security update requires it; a newer file alone is not a reason to flash the board.
The best early upgrades are usually storage, RAM, cooling, or the GPU. A CPU upgrade can be worthwhile if the motherboard platform has a strong drop-in option. A monitor upgrade can change the whole experience, so do not treat it as separate from the tower. Audio matters too: compare a speaker setup with the NexusArc affordable speaker guide or a private-chat setup with the budget headset guide.
Validate performance and power after the build
After the system passes first-boot stability checks, use the structured PC game stutter guide for repeatable performance problems and the Frame-Time and FPS Converter for averages and low-percentile data. Size the power system with the PC Power-Supply Estimator, then confirm connectors, transients, efficiency, fit, and quality with How to Choose a PC Power Supply.
Sources
Harry Negron
Harry Negron leads NexusArc's editorial direction across games, player culture, gear, and technology.