

First Gaming PC Boot and Troubleshooting Guide: POST, BIOS, Windows, Drivers, and Stability
A structured first-boot checklist for a newly built gaming PC, including no-display diagnosis, BIOS settings, Windows setup, driver order, and stress testing.
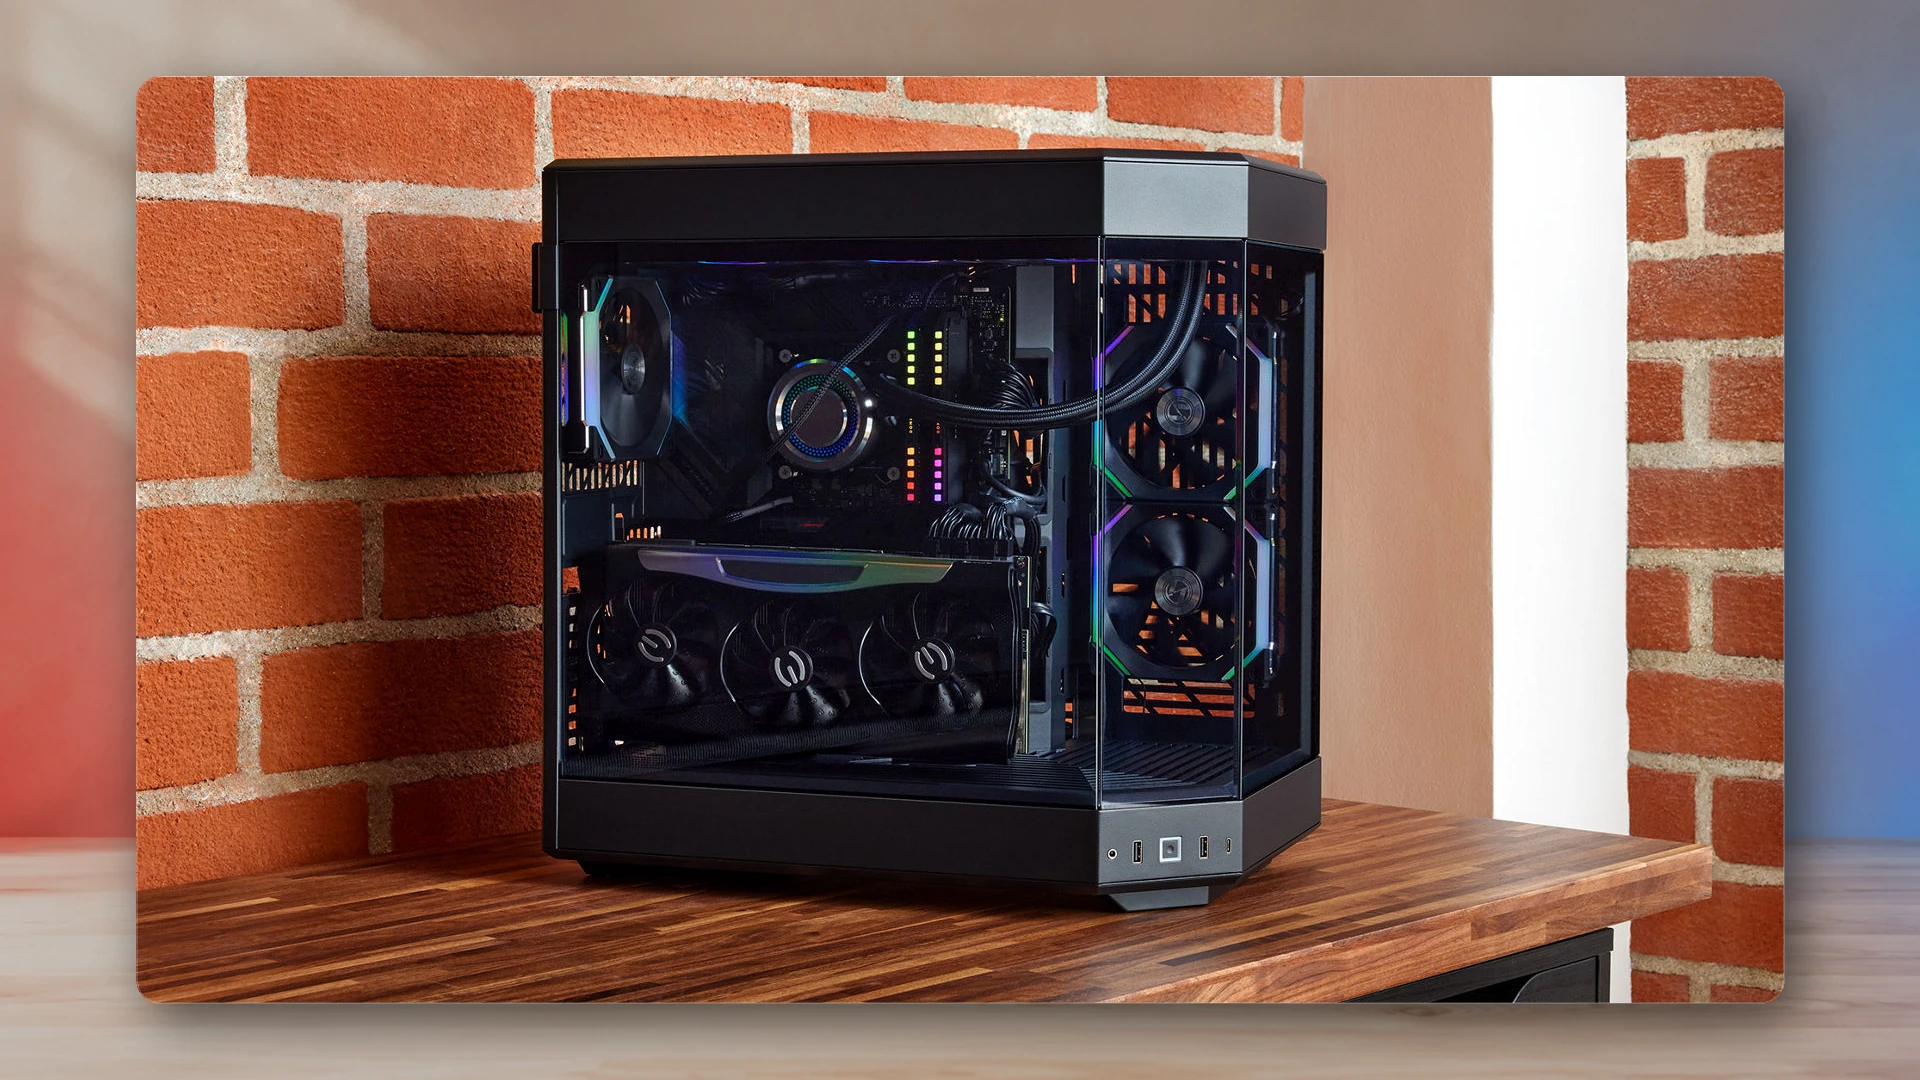
Do a final physical inspection before power
Do not treat the first power button press as the start of troubleshooting. The most useful checks happen before power reaches the system. Confirm that the CPU cooler is mounted evenly, the protective film has been removed from the cooler base, memory is fully seated, the graphics card is locked into the slot, and every required power connector is attached.
Before reseating components or internal cables, shut down the PC, switch off the power supply, and unplug it from the wall.
- 24-pin motherboard power connected.
- CPU EPS power connected near the top of the board.
- GPU power connected with the correct cable layout.
- CPU fan connected to the CPU_FAN header.
- Front-panel power switch connected to the correct pins.
- Display cable connected to the graphics card when using a discrete GPU.
What POST means
POST is the power-on self-test that happens before the operating system loads. Motherboards communicate problems through debug LEDs, two-digit codes, or beep patterns. The meaning is specific to the board, so keep the manual open rather than guessing from a color alone.
A system may power cycle more than once during the first boot while memory is trained. Give a new platform time before cutting power, especially after a BIOS update or memory change.
If there is no power
- Check the wall outlet, power strip, PSU switch, and power cable.
- Confirm the front-panel power connector is on the correct header pins.
- Reseat the 24-pin and CPU power connectors.
- Disconnect nonessential USB devices and drives.
- Verify that no loose screw is under the motherboard.
If the motherboard has standby lighting but the power button does nothing, the front-panel connection is a likely starting point. Do not short pins unless the motherboard manual explicitly identifies the correct power-switch pins and you are comfortable doing so safely.
If the system powers on but shows no display
Confirm the monitor is on the correct input and that the cable is connected to the graphics card, not the motherboard, unless the CPU has integrated graphics and you intend to use it. Reseat the GPU and memory. Try one memory module in the motherboard’s recommended single-stick slot.
Check the board’s CPU, DRAM, VGA, and BOOT indicators. A VGA light does not always mean the graphics card is dead; it can indicate seating, power, firmware, or display-handshake issues. A DRAM light can be caused by memory seating, unsupported settings, or initial training.
Enter the BIOS or UEFI
Once the system shows a firmware screen, confirm that the CPU, total memory, storage devices, and fans are detected. Check the CPU temperature while sitting in firmware. A temperature that rises rapidly toward an unsafe level can indicate a cooler-mount or pump problem.
Load optimized defaults before changing performance settings. Update the BIOS only when there is a clear reason, such as CPU support, stability, or a documented security fix. Follow the motherboard maker’s exact update procedure and do not interrupt power.
Memory profile and fan setup
XMP or EXPO enables the memory kit’s rated profile, but it is still an overclock relative to baseline specifications. Complete a stable first boot at defaults before enabling it. If problems begin after the profile is enabled, return to default memory settings and test again.
Set a sensible fan curve after confirming every fan and pump reports correctly. Aggressive silence settings are not useful if the CPU or GPU immediately reaches thermal limits.
Install Windows safely
Create current installation media from Microsoft on a trusted computer. During setup, make sure the destination drive is the intended system drive. If multiple blank drives are installed and the layout is confusing, temporarily disconnect nonessential storage rather than risk deleting the wrong disk.
After installation, let Windows complete core updates, but do not assume Windows Update replaces every platform driver.
Install drivers in a controlled order
- Motherboard chipset or platform drivers from AMD or Intel.
- Network and audio drivers when Windows did not provide a suitable version.
- Current graphics driver from NVIDIA, AMD, or Intel.
- Peripheral software only when a required feature needs it.
Avoid installing every utility offered by the motherboard vendor. More monitoring and RGB services can create conflicts without improving performance.
Verify temperatures and stability
Monitor idle and load temperatures, fan behavior, clock speed, and whether the system reports hardware errors. Use a sequence rather than one extreme stress test: memory test, CPU load, GPU load, then a combined gaming workload. Stability in a synthetic benchmark does not guarantee stability in every game, but repeated crashes are a reason to return settings to default.
Check that the display refresh rate is set correctly in Windows and that the system drive has normal free space. Confirm sleep, restart, audio, network, and USB behavior before declaring the build finished.
Use a change-one-thing rule
When troubleshooting, change one variable at a time and record the result. Reseating memory, updating BIOS, changing power cables, enabling a memory profile, and reinstalling drivers at once may accidentally fix the symptom while hiding the cause.
When to stop
Stop immediately if there is smoke, a burning smell, visible arcing, liquid, a loose power connector that is becoming hot, or a fan/pump failure that causes temperature to rise rapidly. Disconnect power and inspect the system. Component warranties and professional support are more valuable than continuing a risky test.
The NexusArc first-boot checklist
Reaching the Windows desktop is only the start of a successful first boot. The finished system should detect all hardware, remain stable at stock settings, maintain safe temperatures, restart cleanly, use the intended display mode, and pass basic memory, CPU, GPU, storage, audio, and network checks. Enable performance profiles only after that baseline is proven.
Continue with performance diagnosis after the first boot
Once the build is stable at stock settings, use the NexusArc PC game stutter diagnosis workflow to separate software, streaming, shader, VRAM, CPU, GPU, thermal, and stability causes. Convert captured averages and lows with the Frame-Time and FPS Converter. Before changing the graphics card or adding power headroom, use the PC Power-Supply Estimator and verify the result against the PSU selection guide.
Sources
- Download Windows 11Microsoft
- Create installation media for WindowsMicrosoft Support
NexusArc Staff
NexusArc Staff publishes desk-written reporting, guides, updates, and service information prepared by the NexusArc editorial team.